
Modelling Workshop

I’ve been away for a long while. Between working overseas, polishing off my master’s degree, and COVID-19 I’ve not had much time for creativity, other than a couple of posts to mop up the last miniatures I painted in mid-2018 and a few drawings in early 2020. If there was an upside to all that, it’s that I was able to think about what I’d do next. Taking inspiration from Mel ‘The Terrain Tutor‘ on YouTube, and old ‘Modelling Workshop’ guides in White Dwarf issues 130, 132, 137, and 140, in the second half of 2020 I set to work building some terrain.
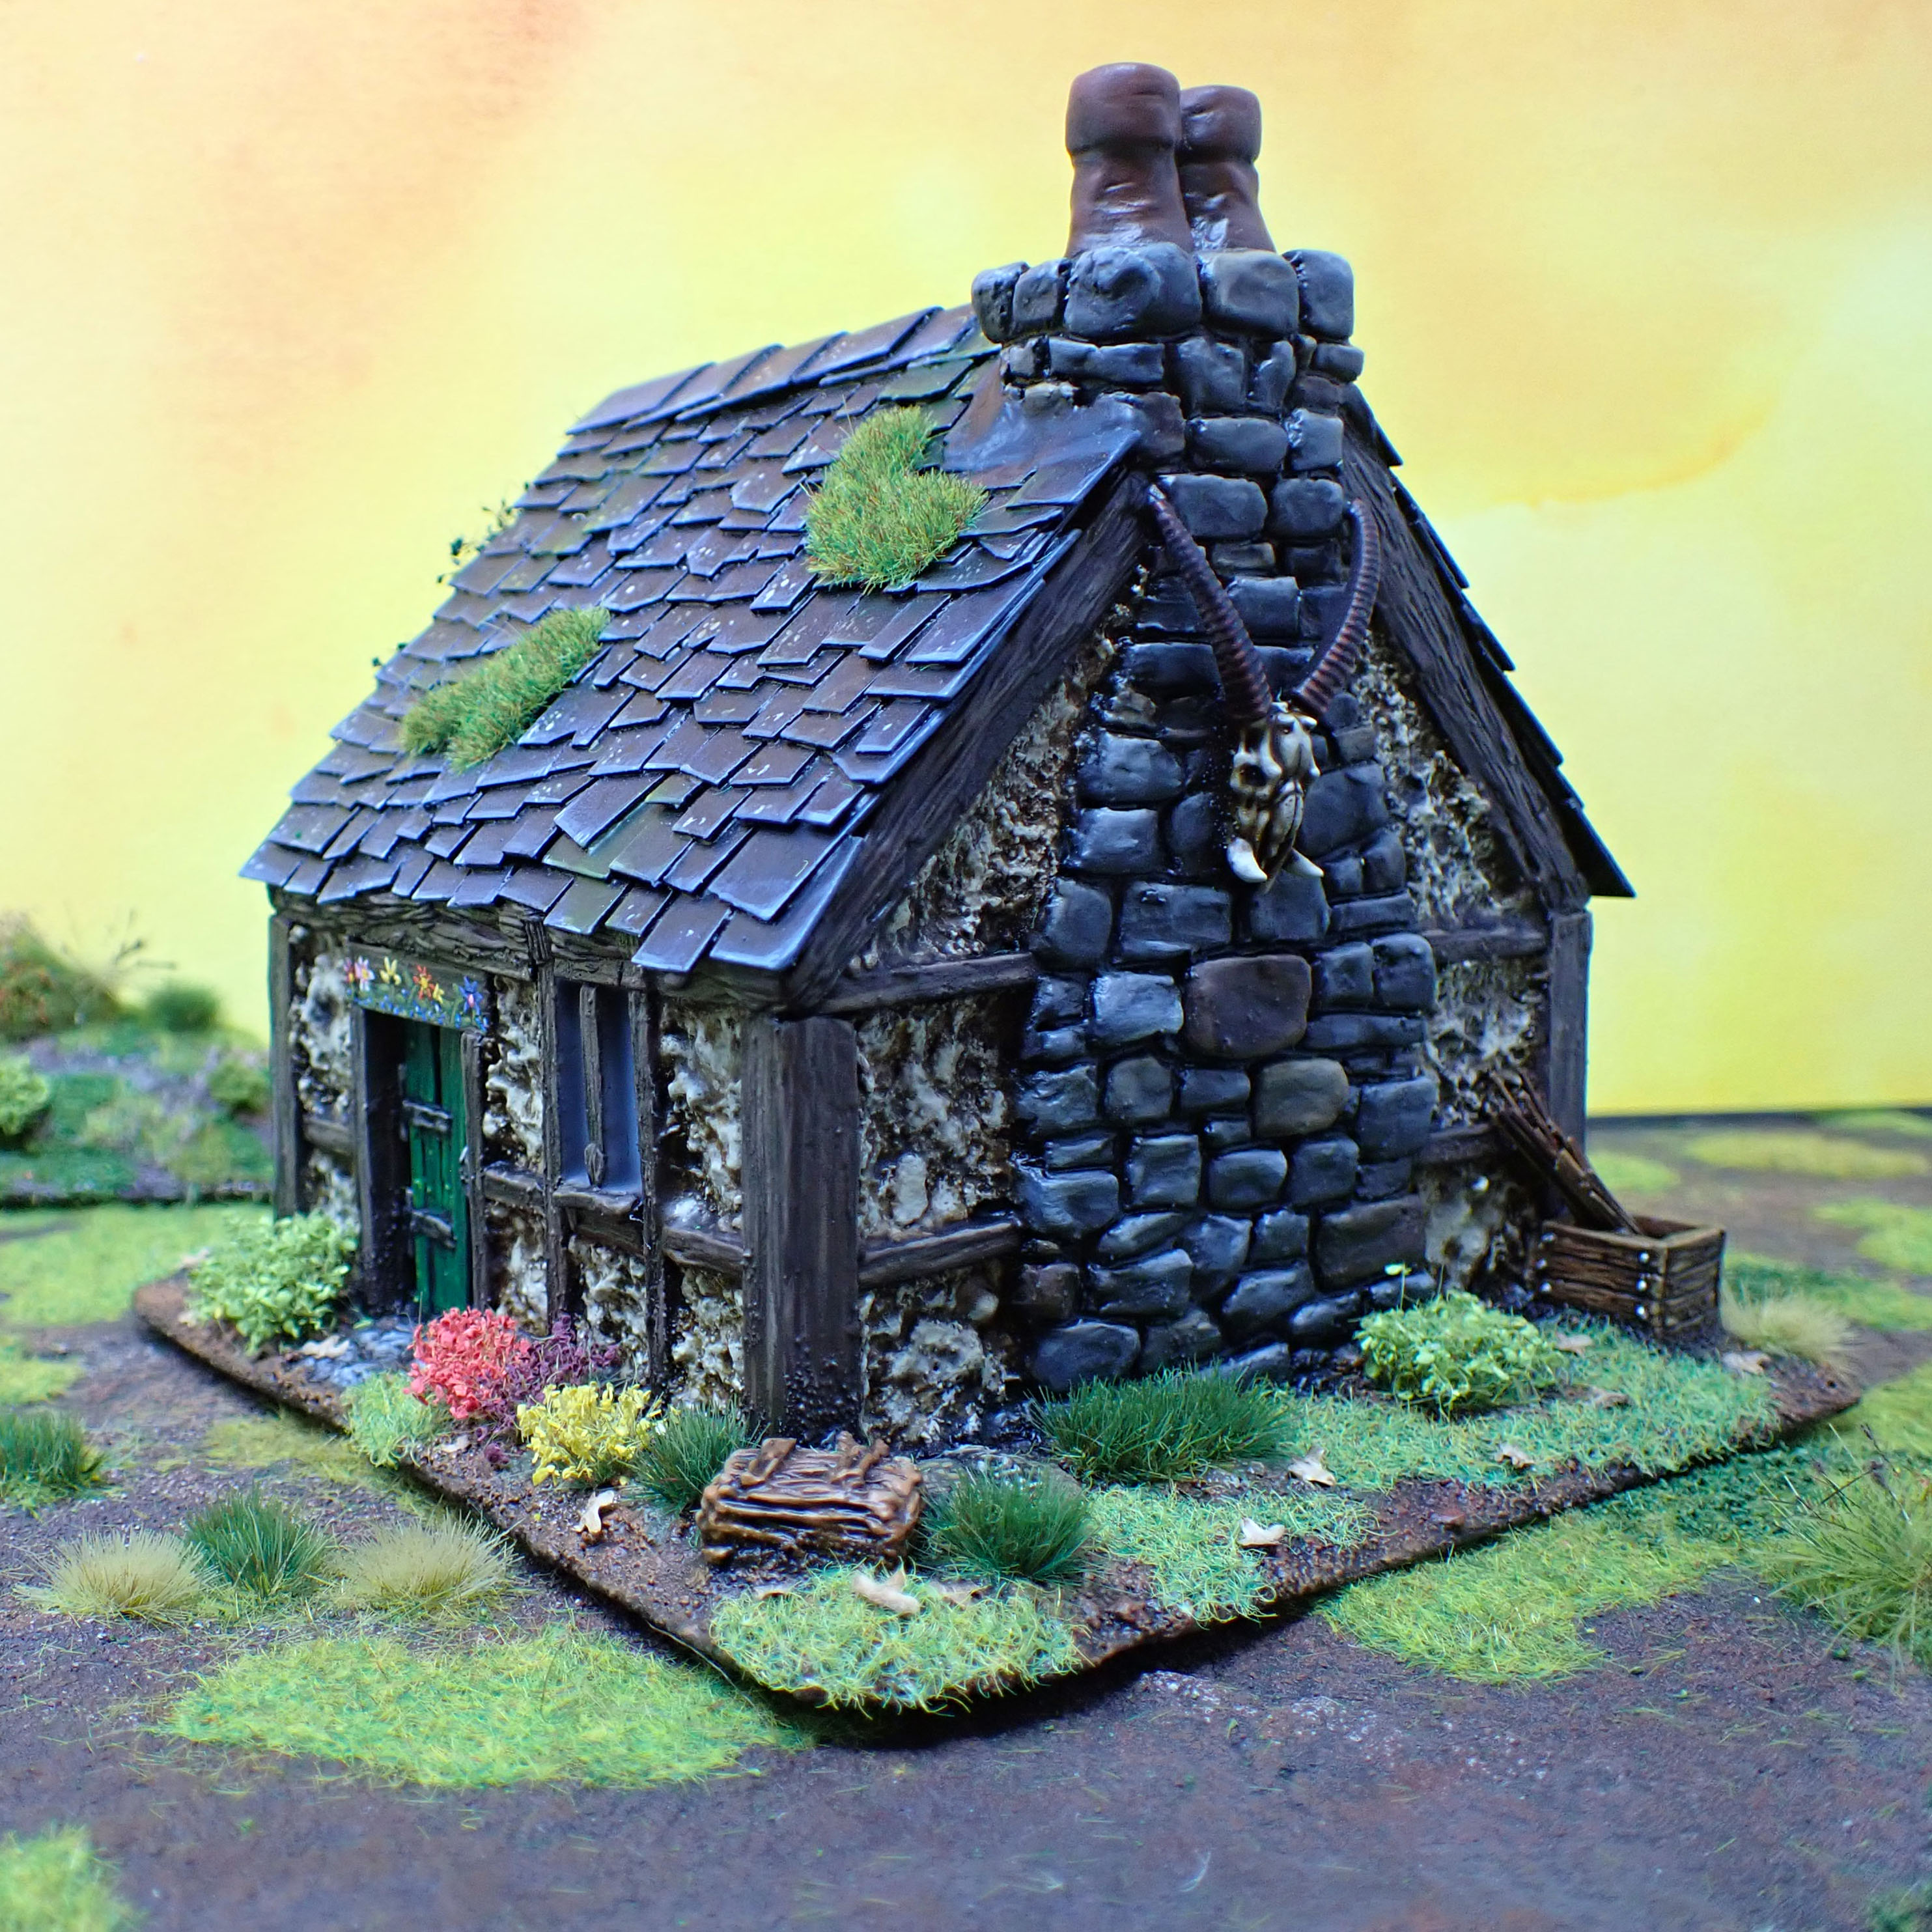
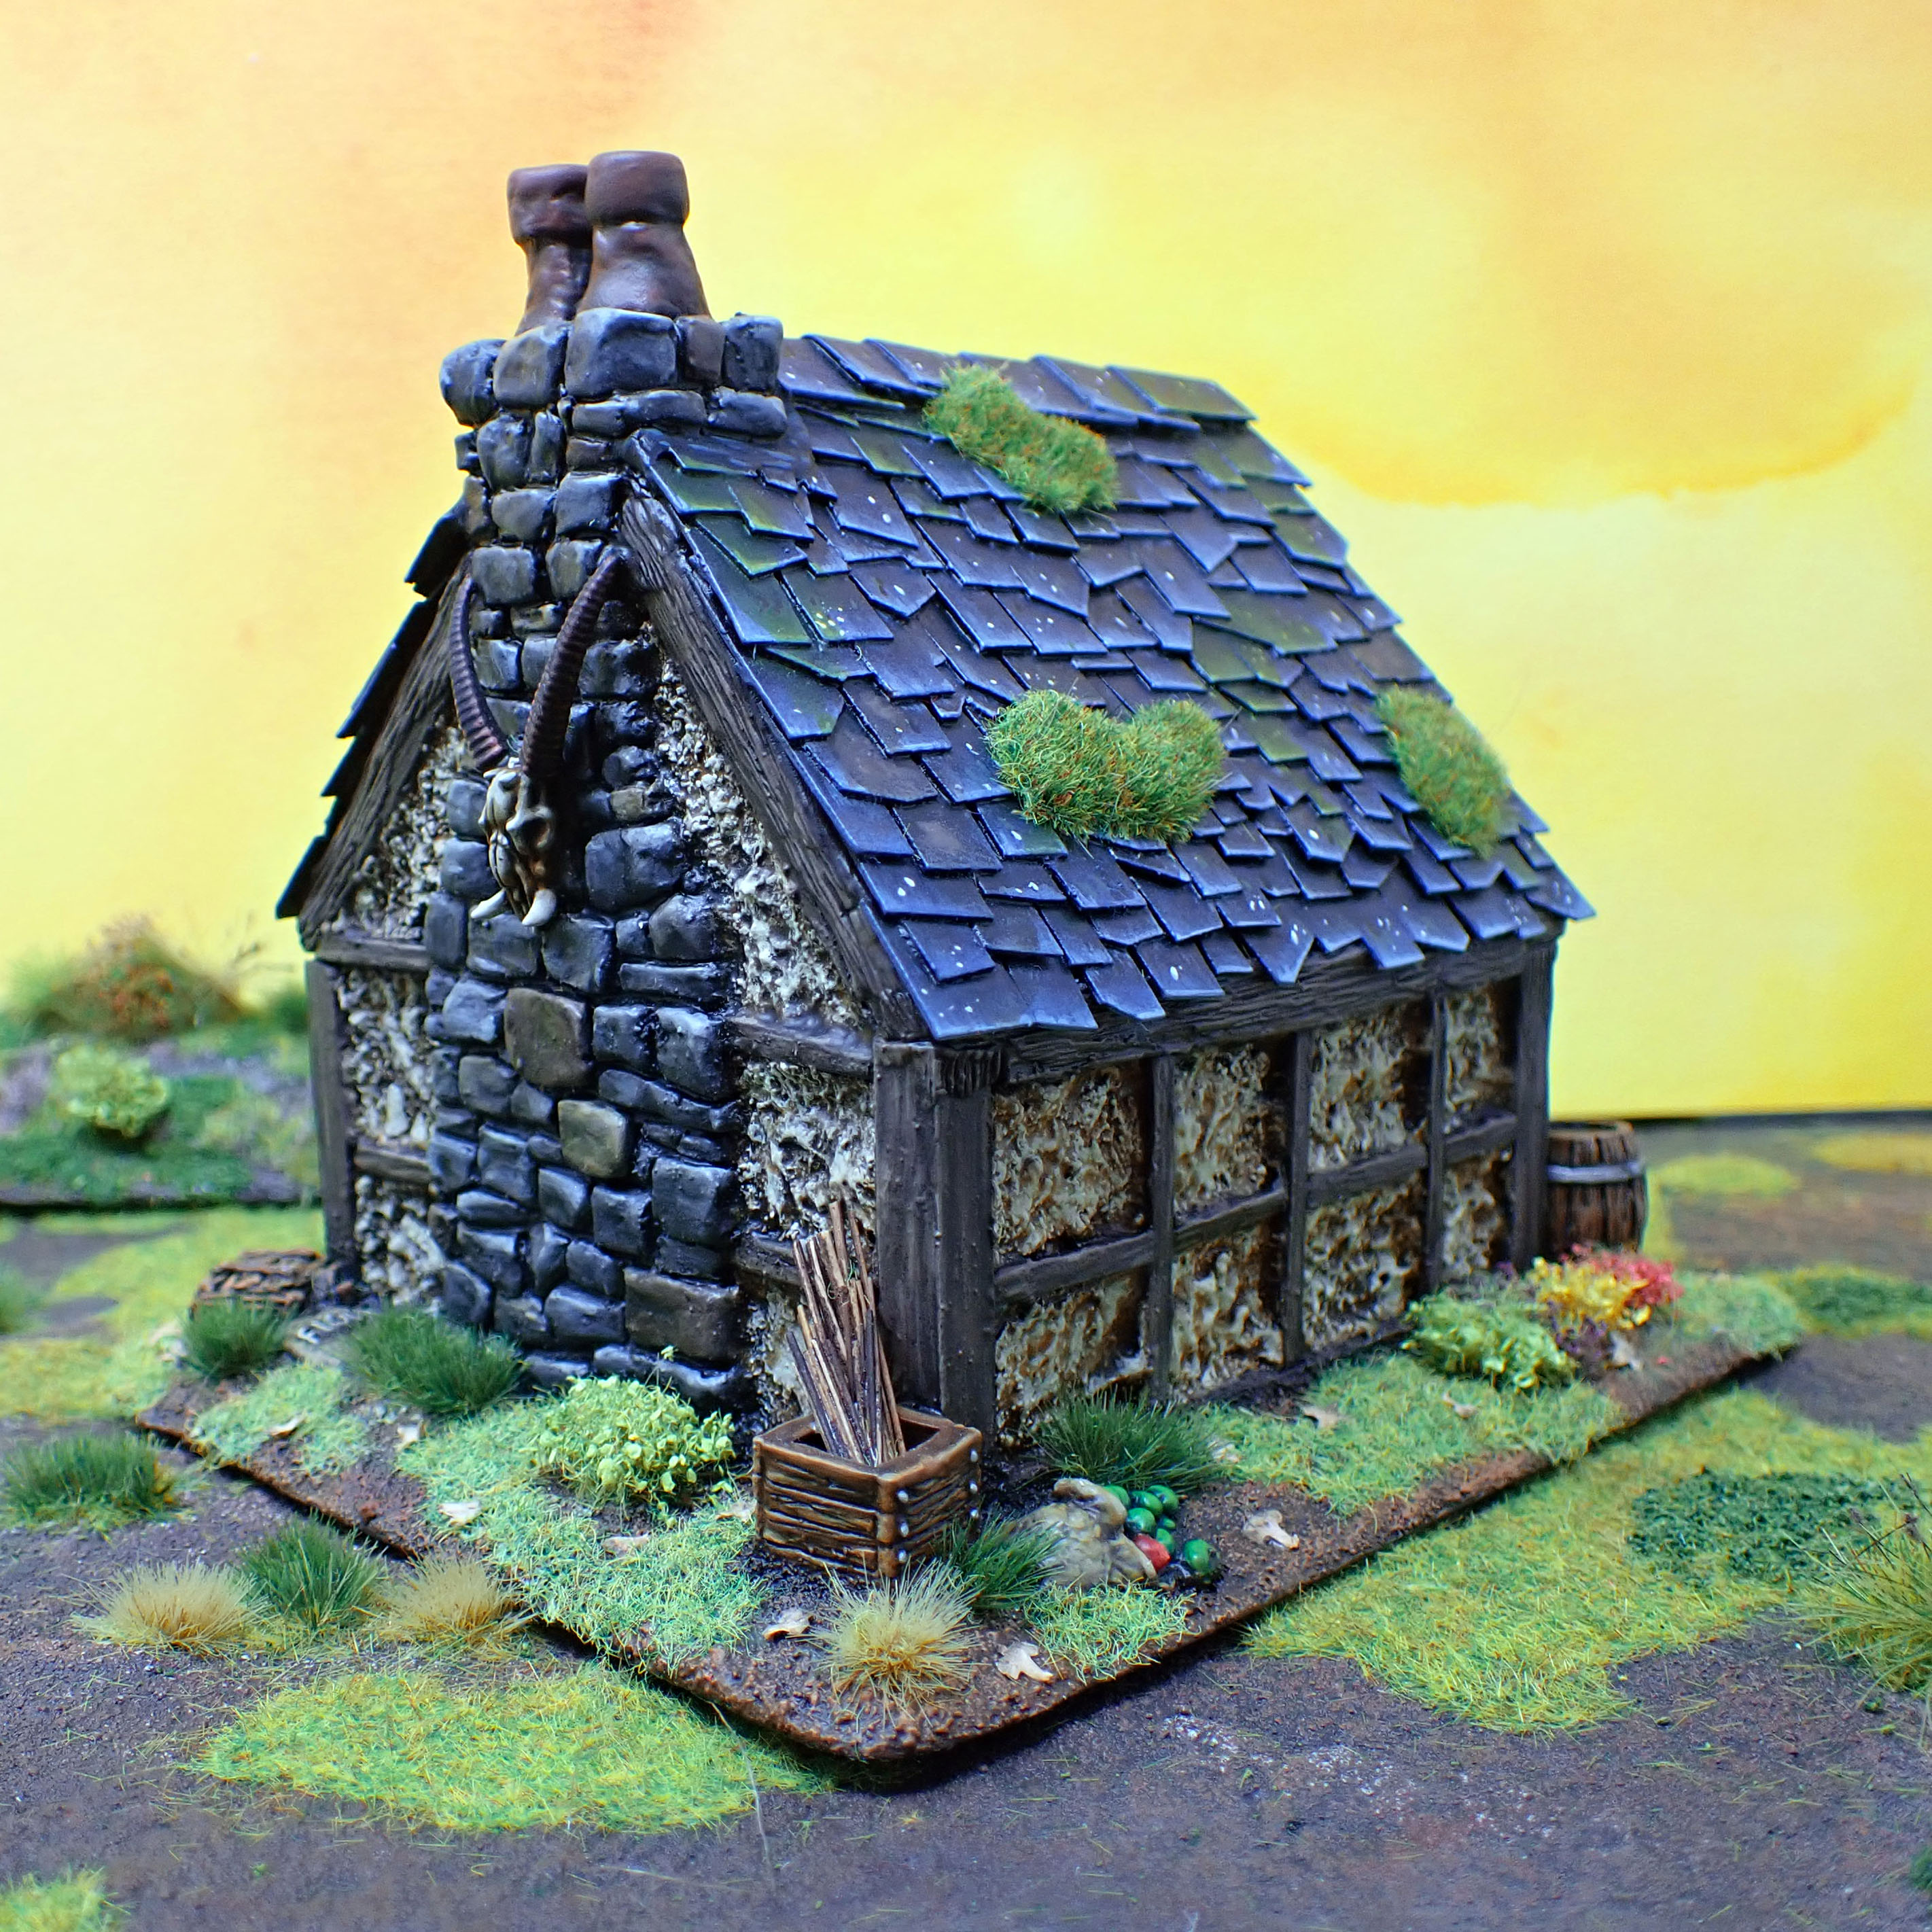
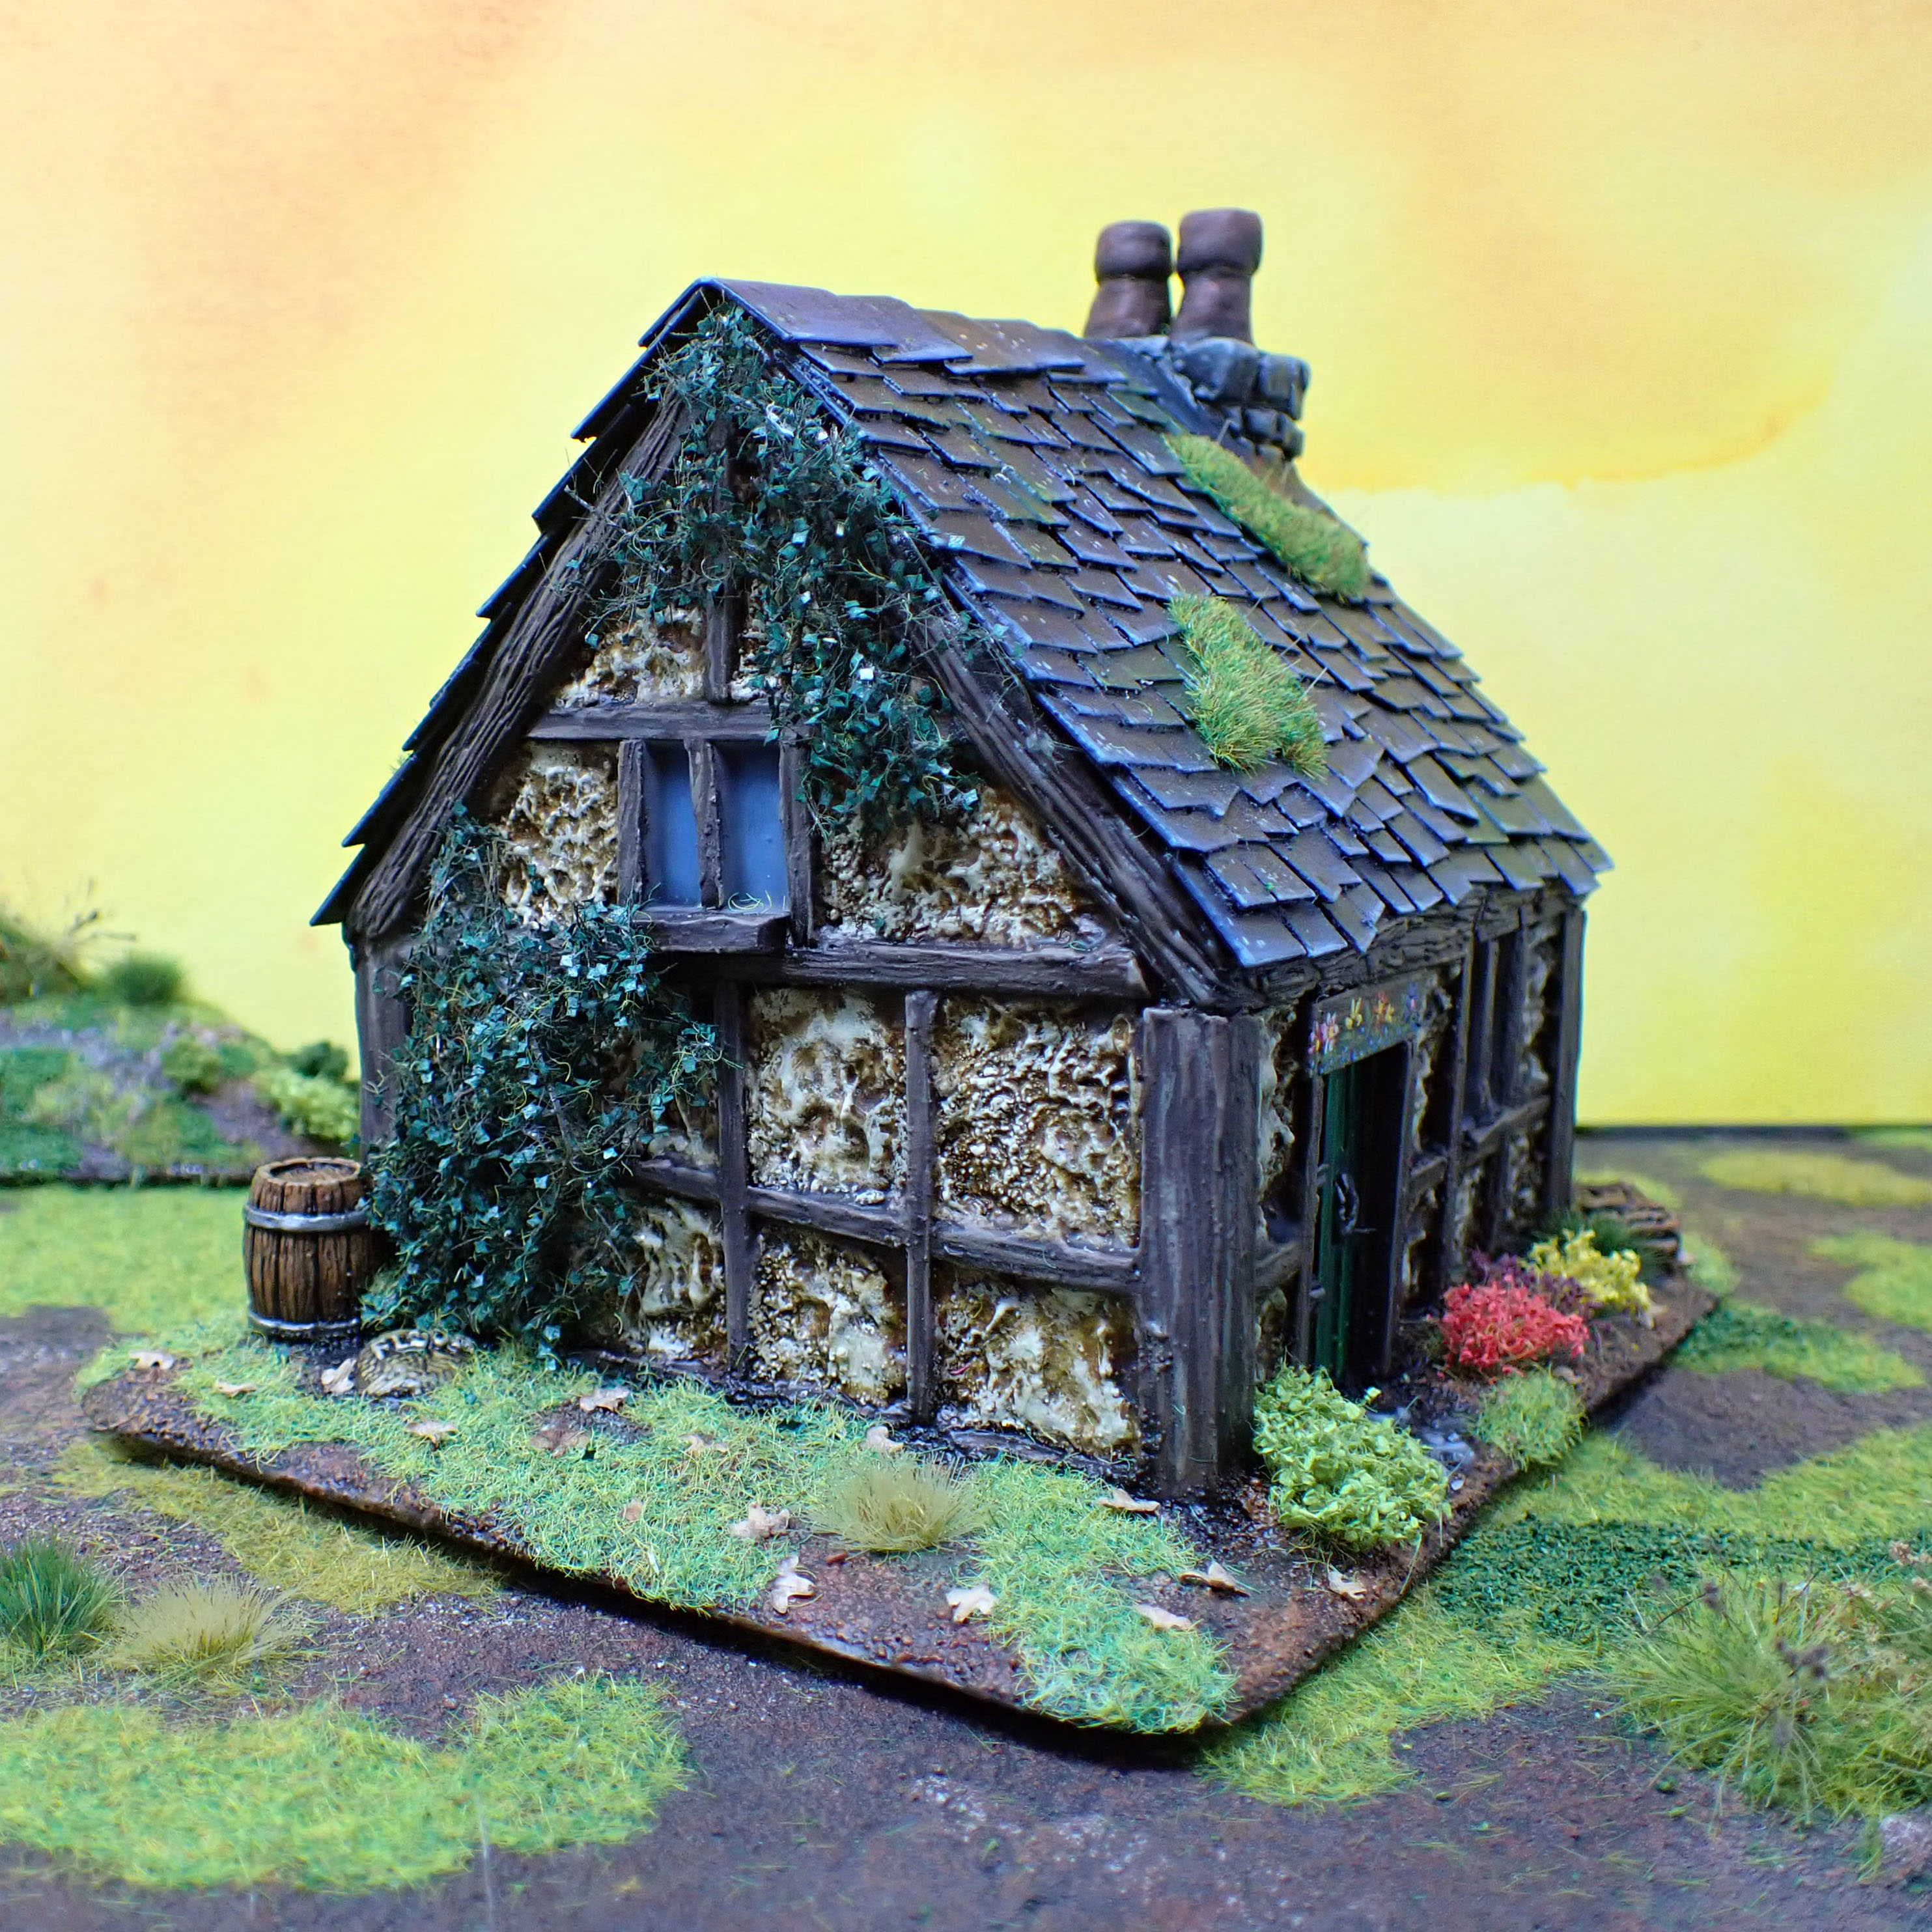
I always wanted something a bit fancier than a plain white background to display my miniatures collection, but I grew up in the ’90s, between the DIY attitude of the previous decade and before the proliferation of tutorials online. My secondary school design technology teacher dispiritingly proclaimed that I’d “never be a craftsman”. Well perhaps he’d be surprised to see this fantasy cottage, made from a mix of 3mm and 0.5mm plasticard, balsa wood, Das modelling clay, Green Stuff, matchsticks, Polyfilla, sand, various flocks, and a few odds-and-ends from Games Workshop, The Battleforge, and Otherworld Miniatures. I poured water effects in the windows, but for some reason it turned frosty after a while.


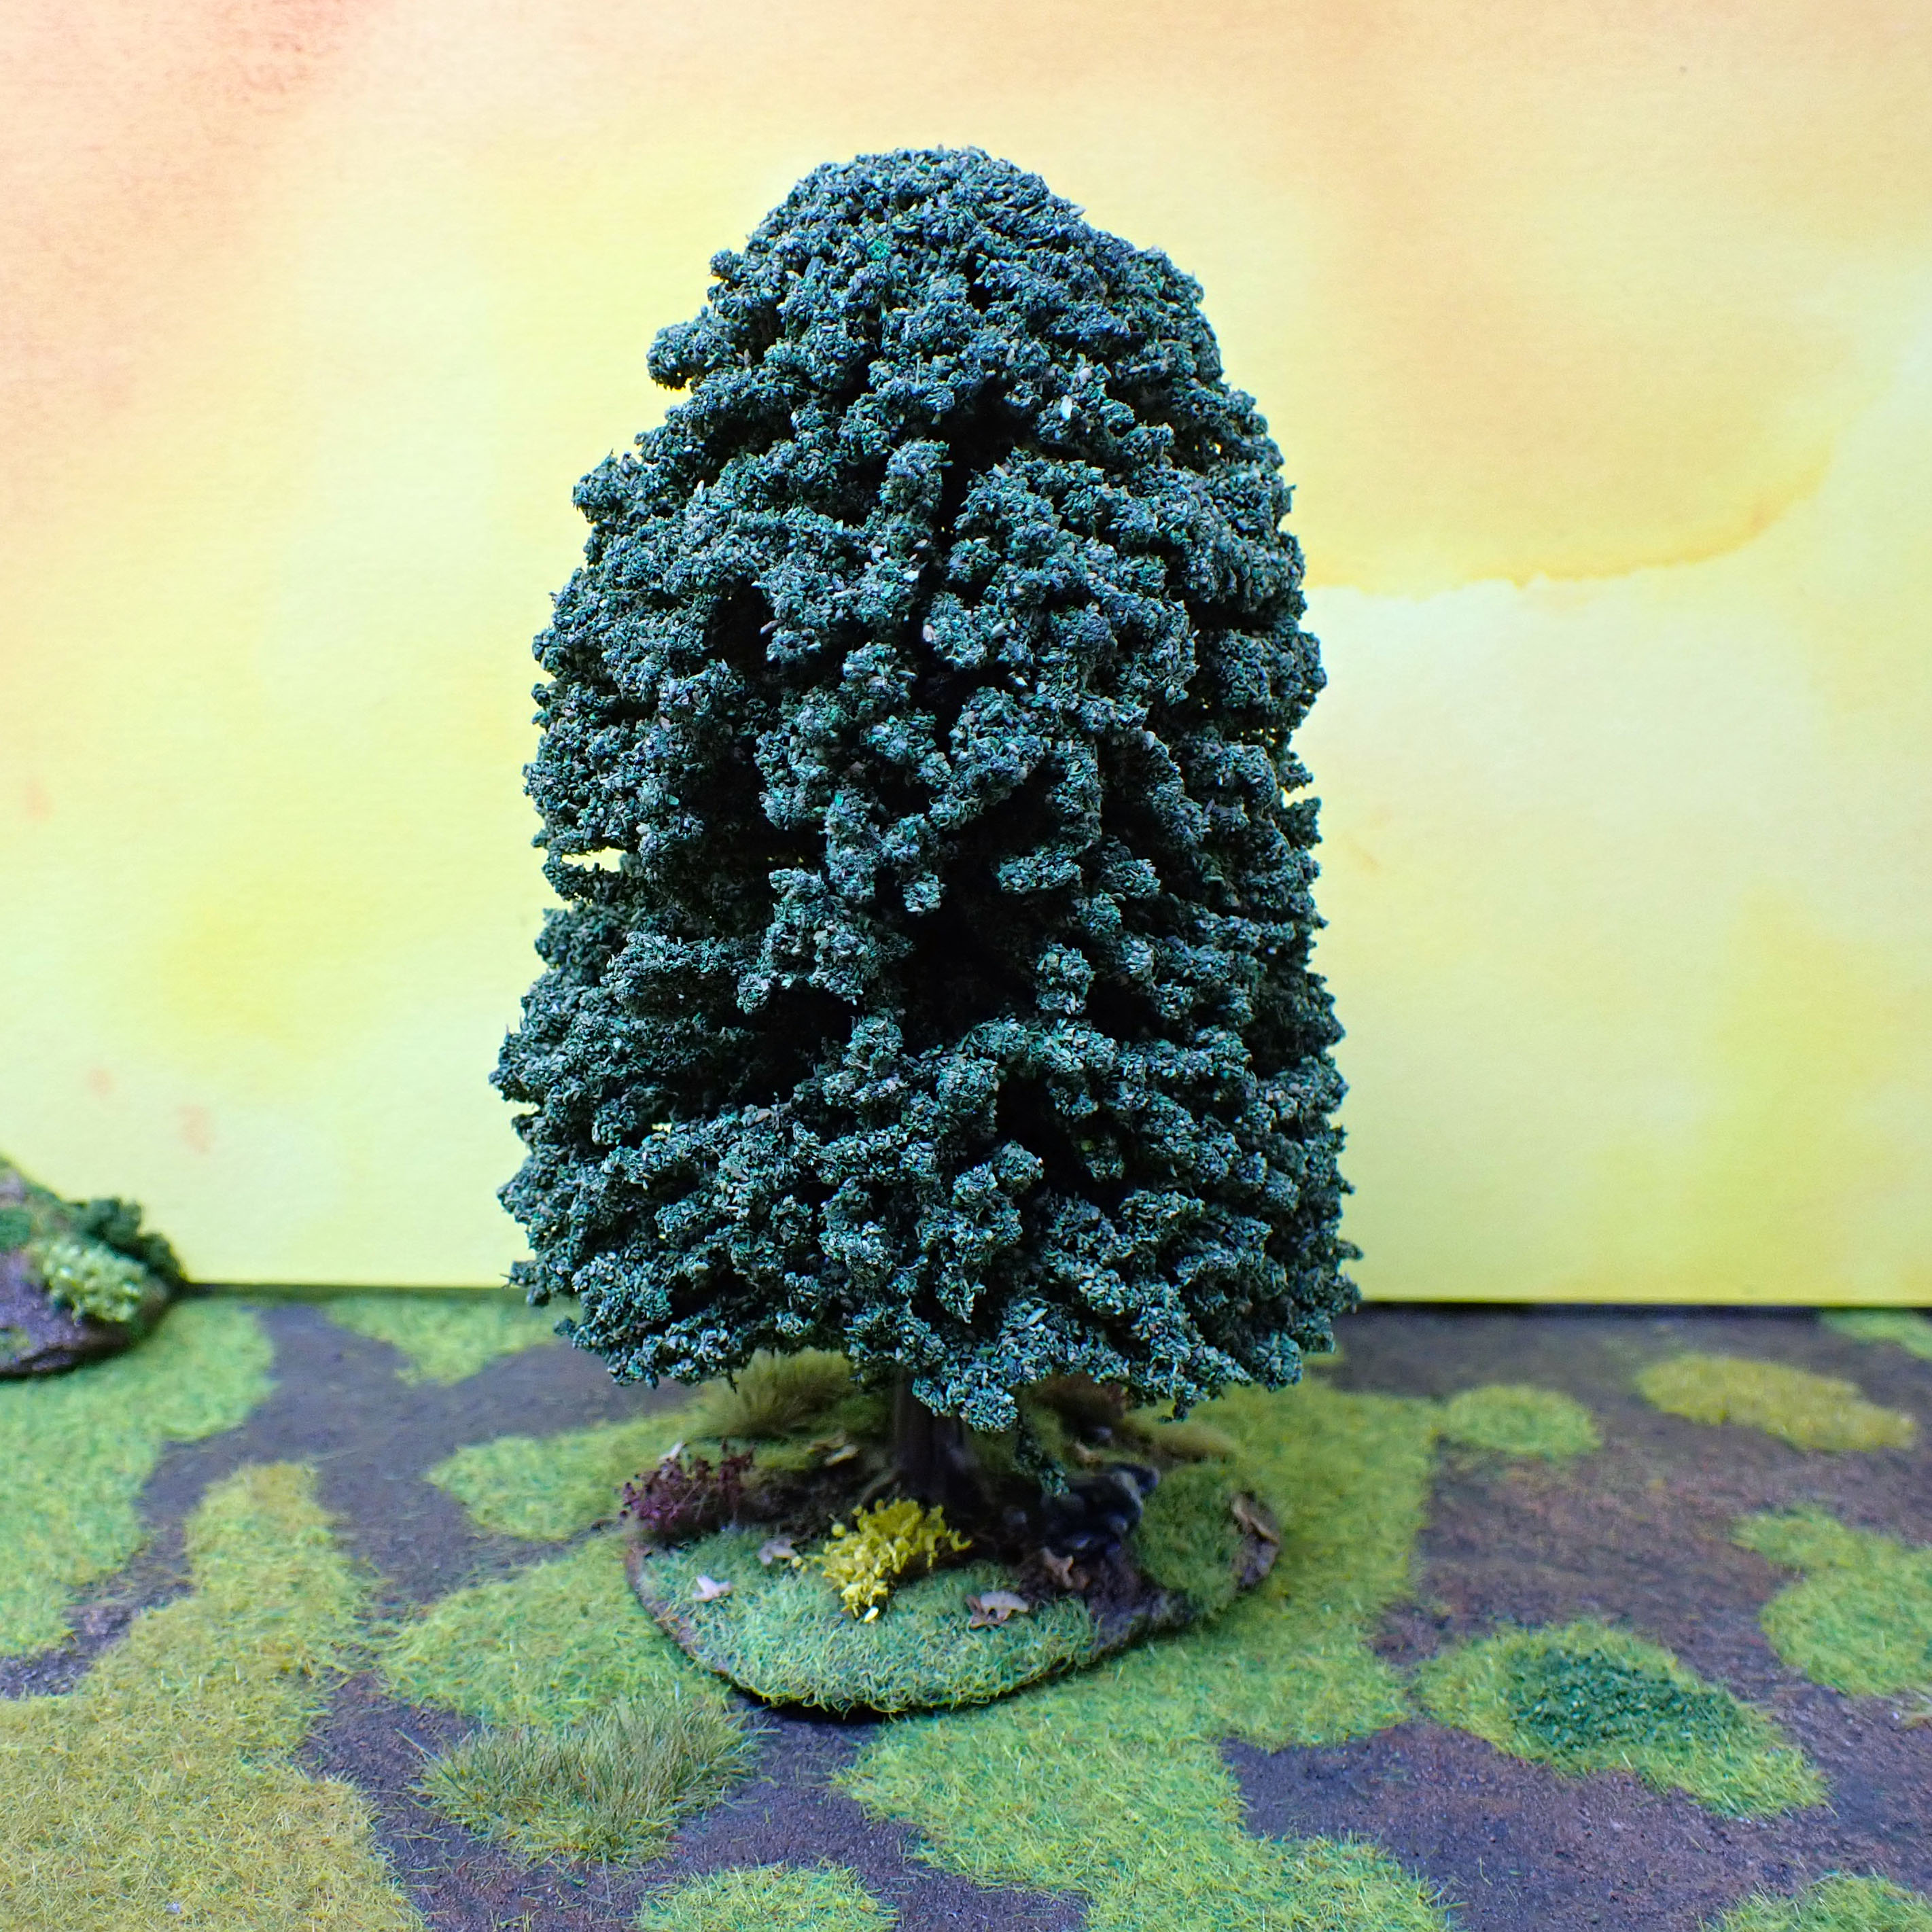
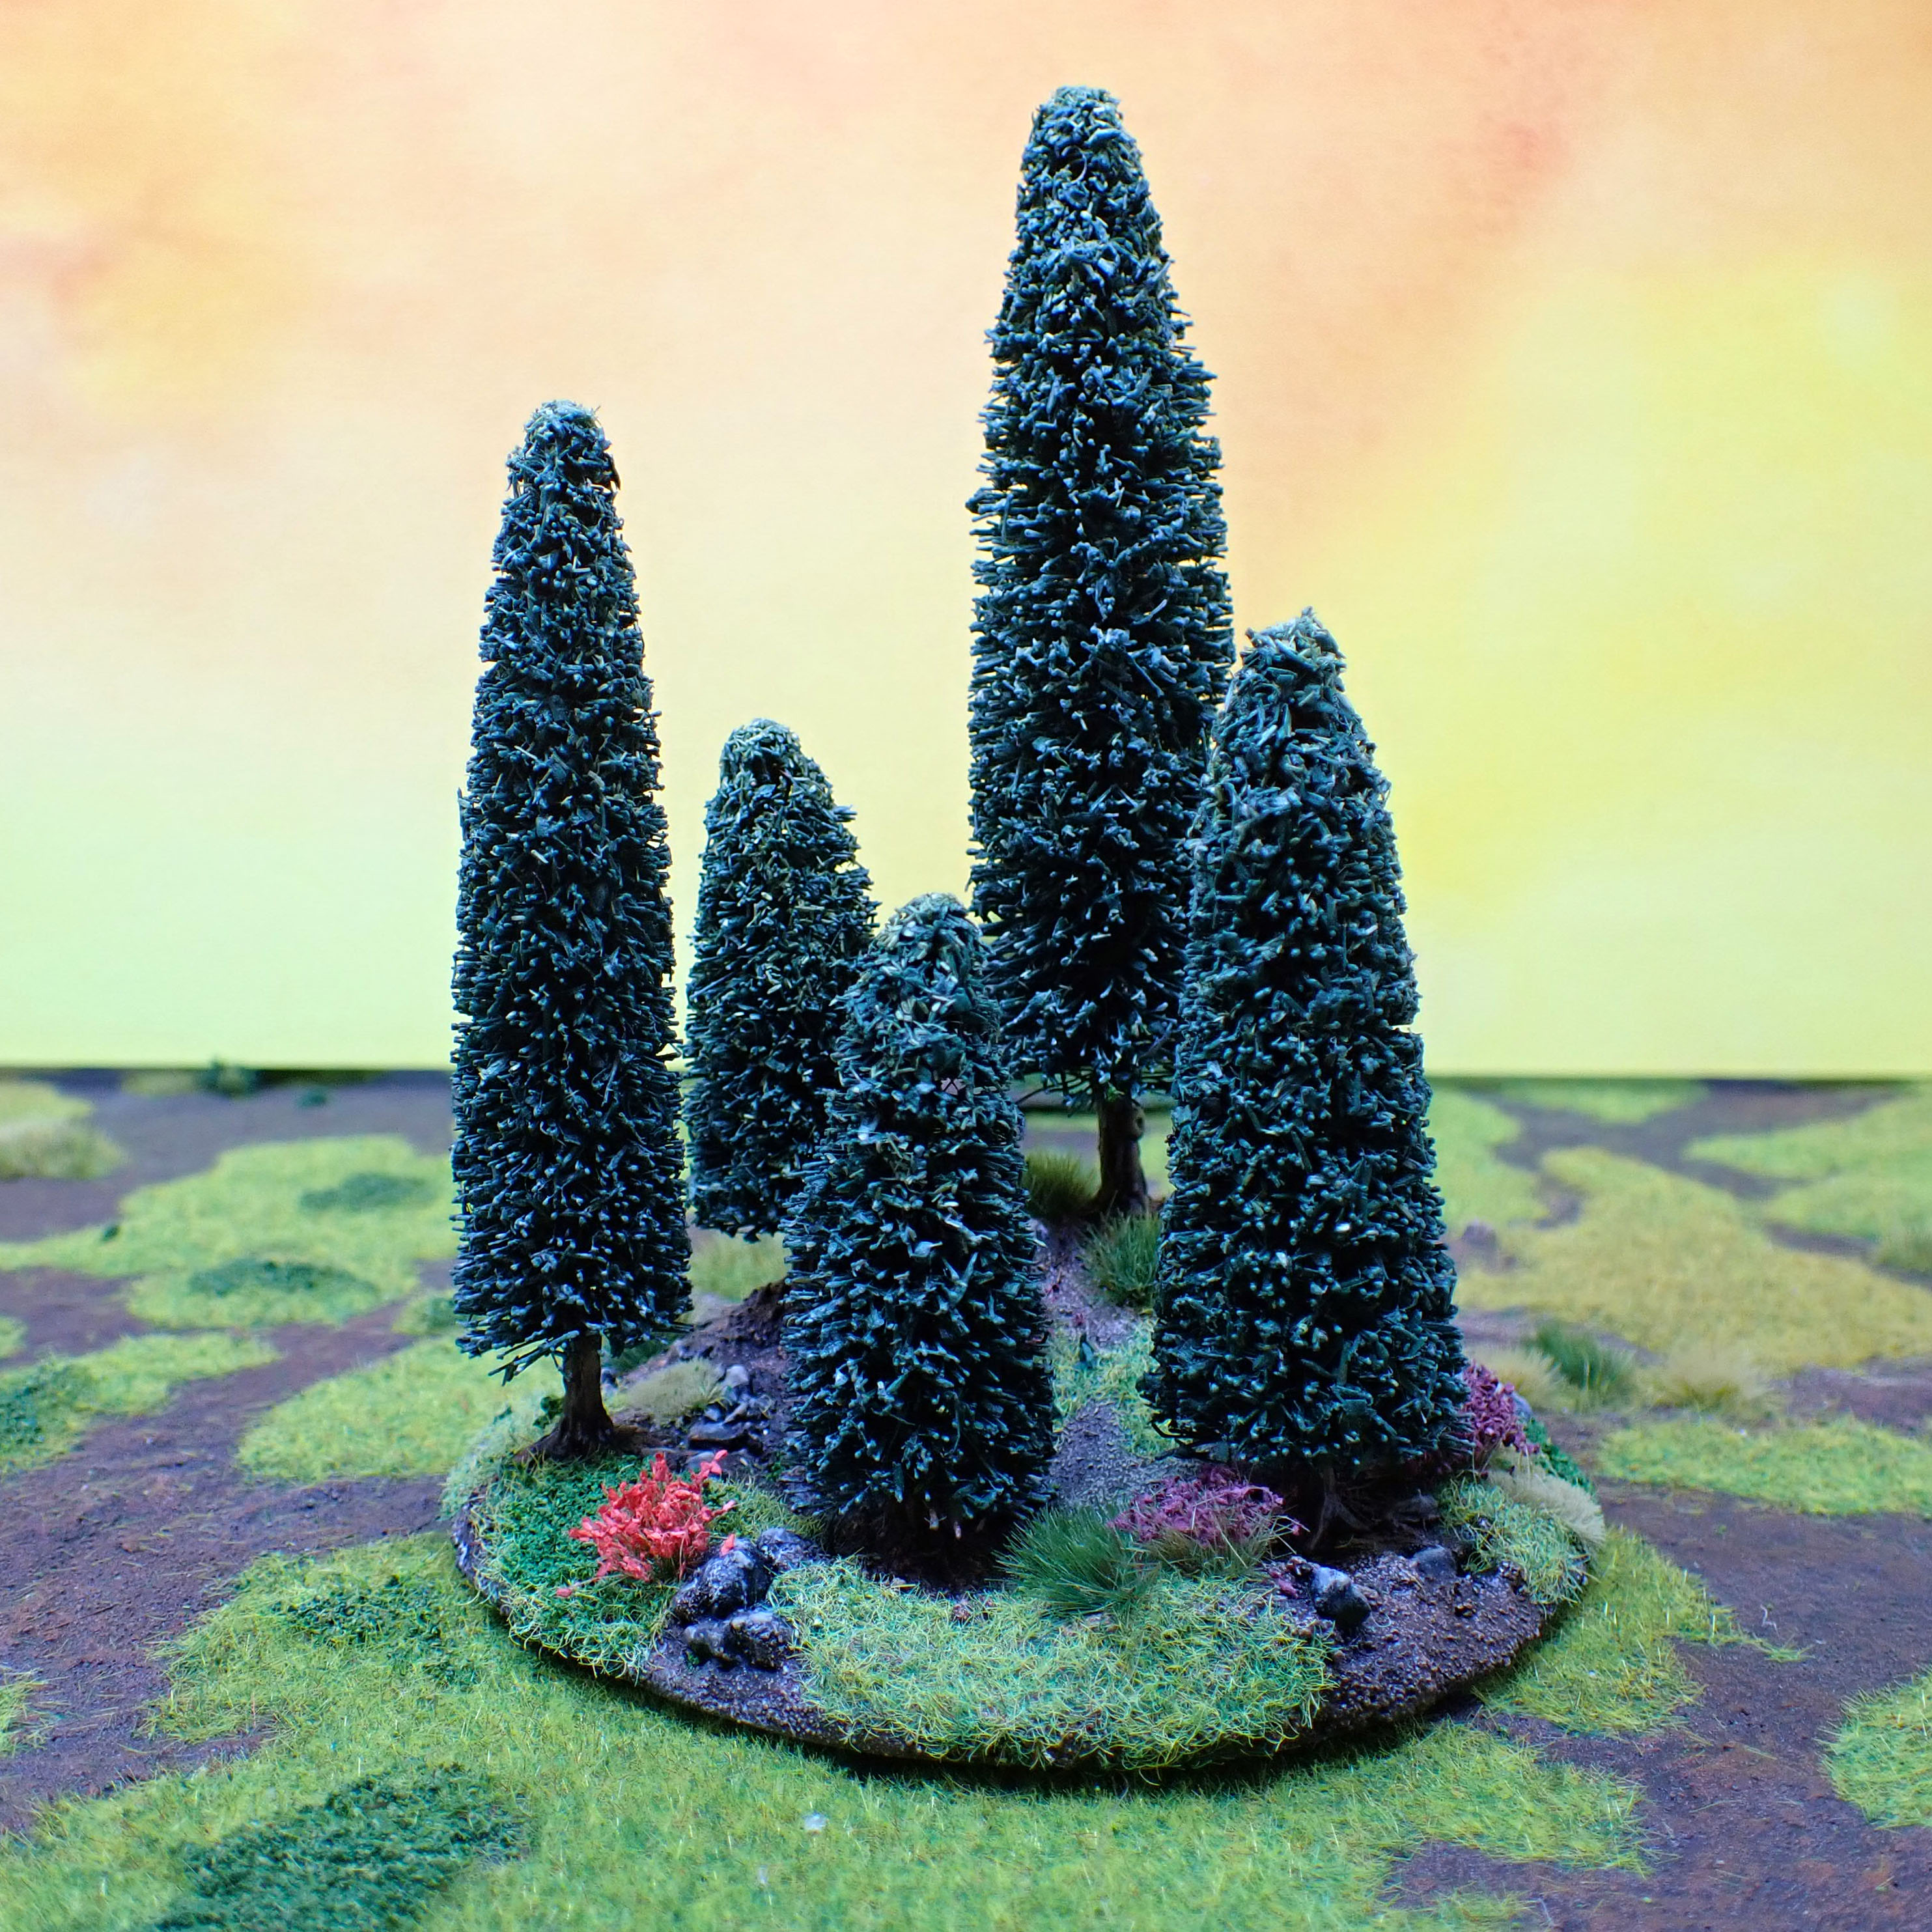
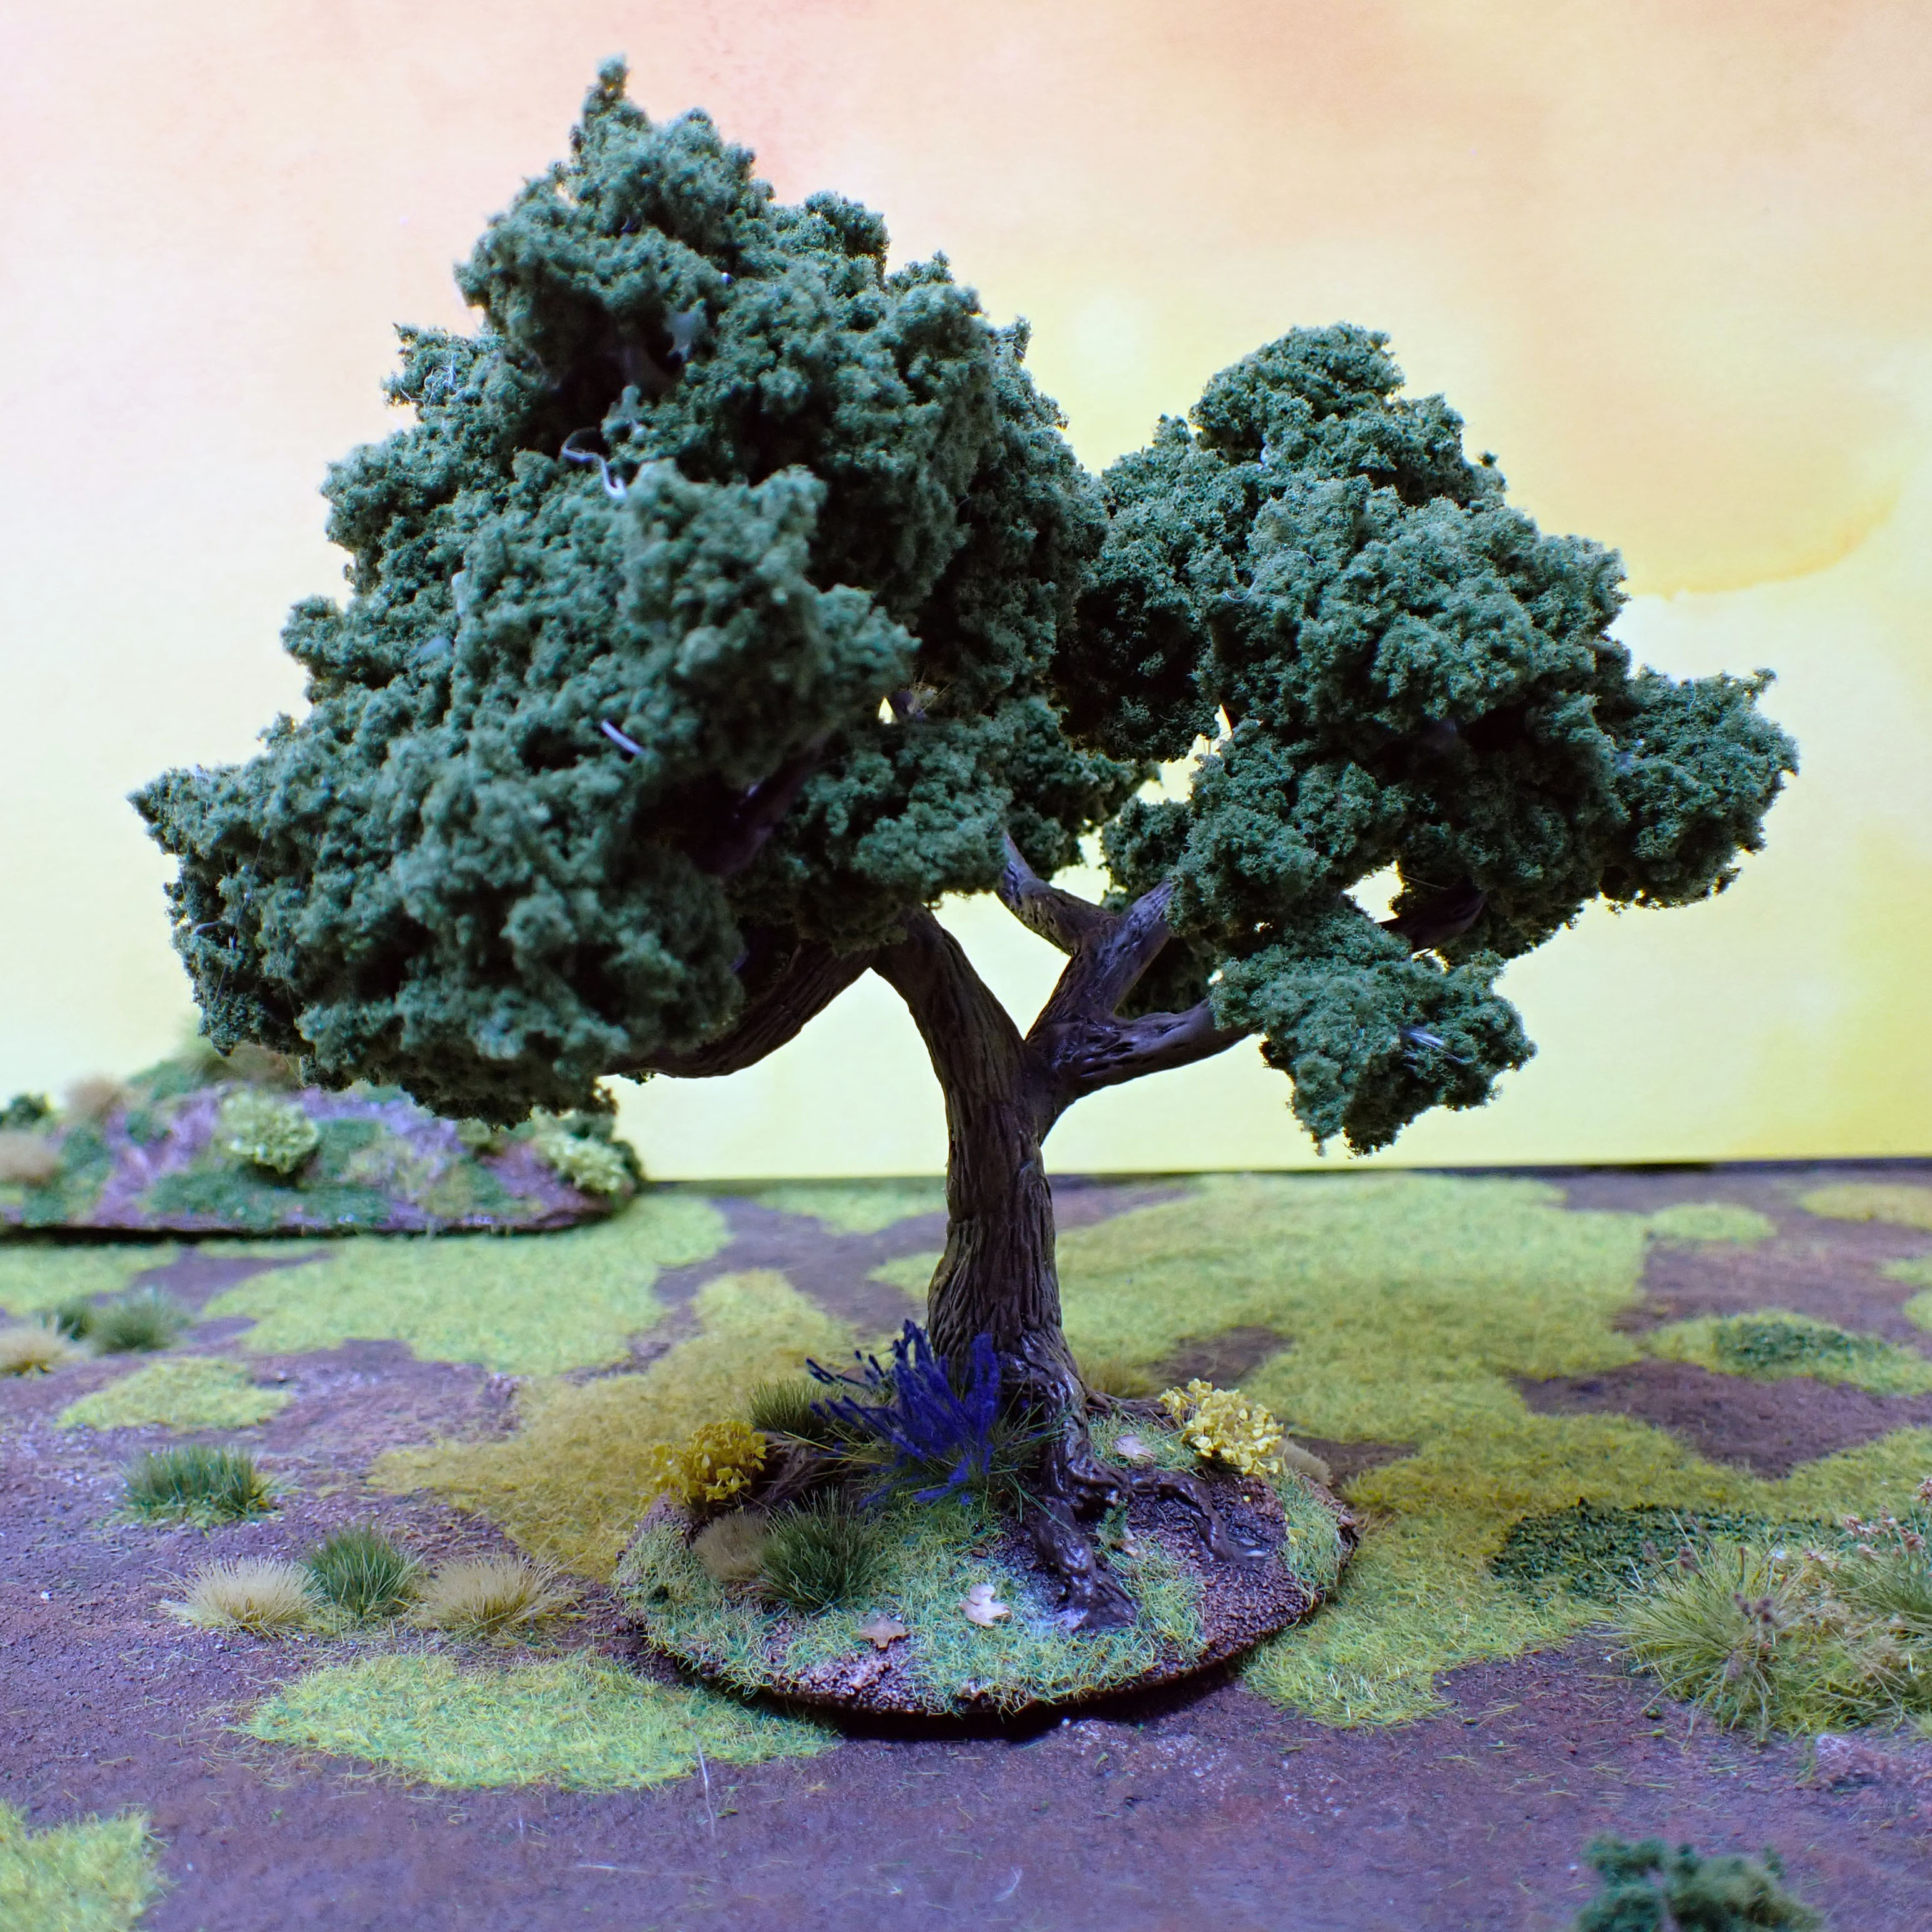
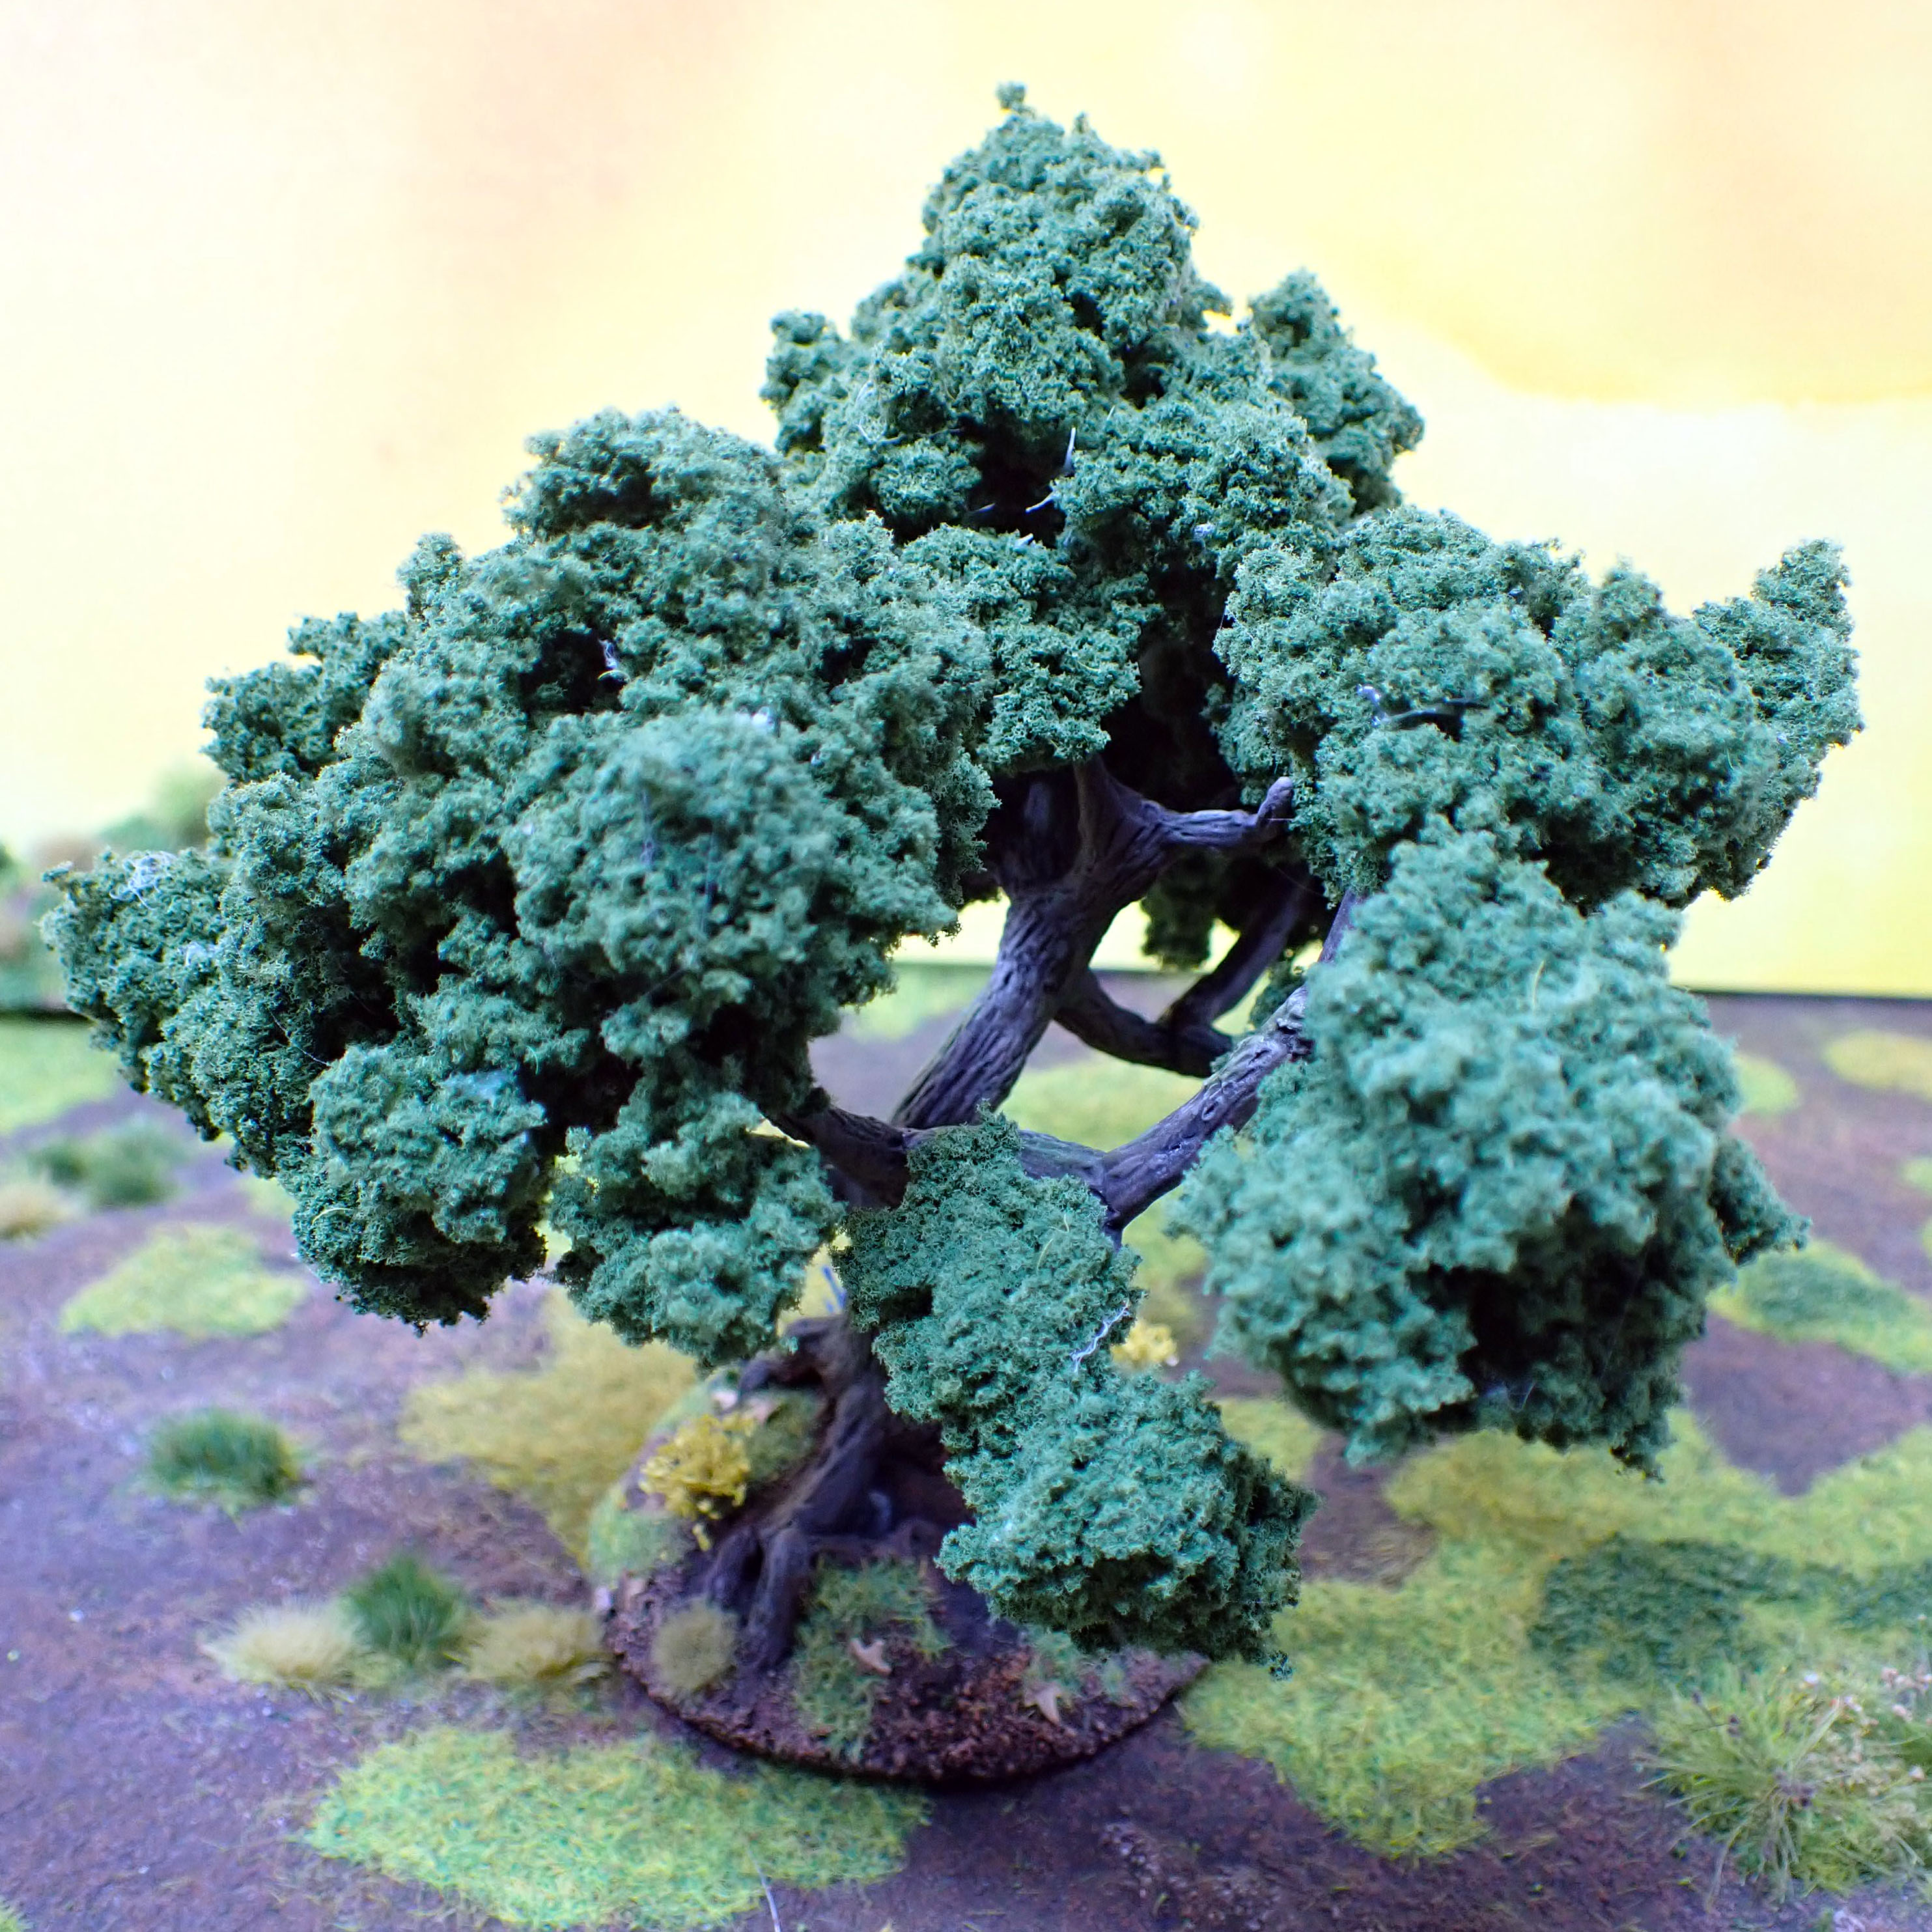
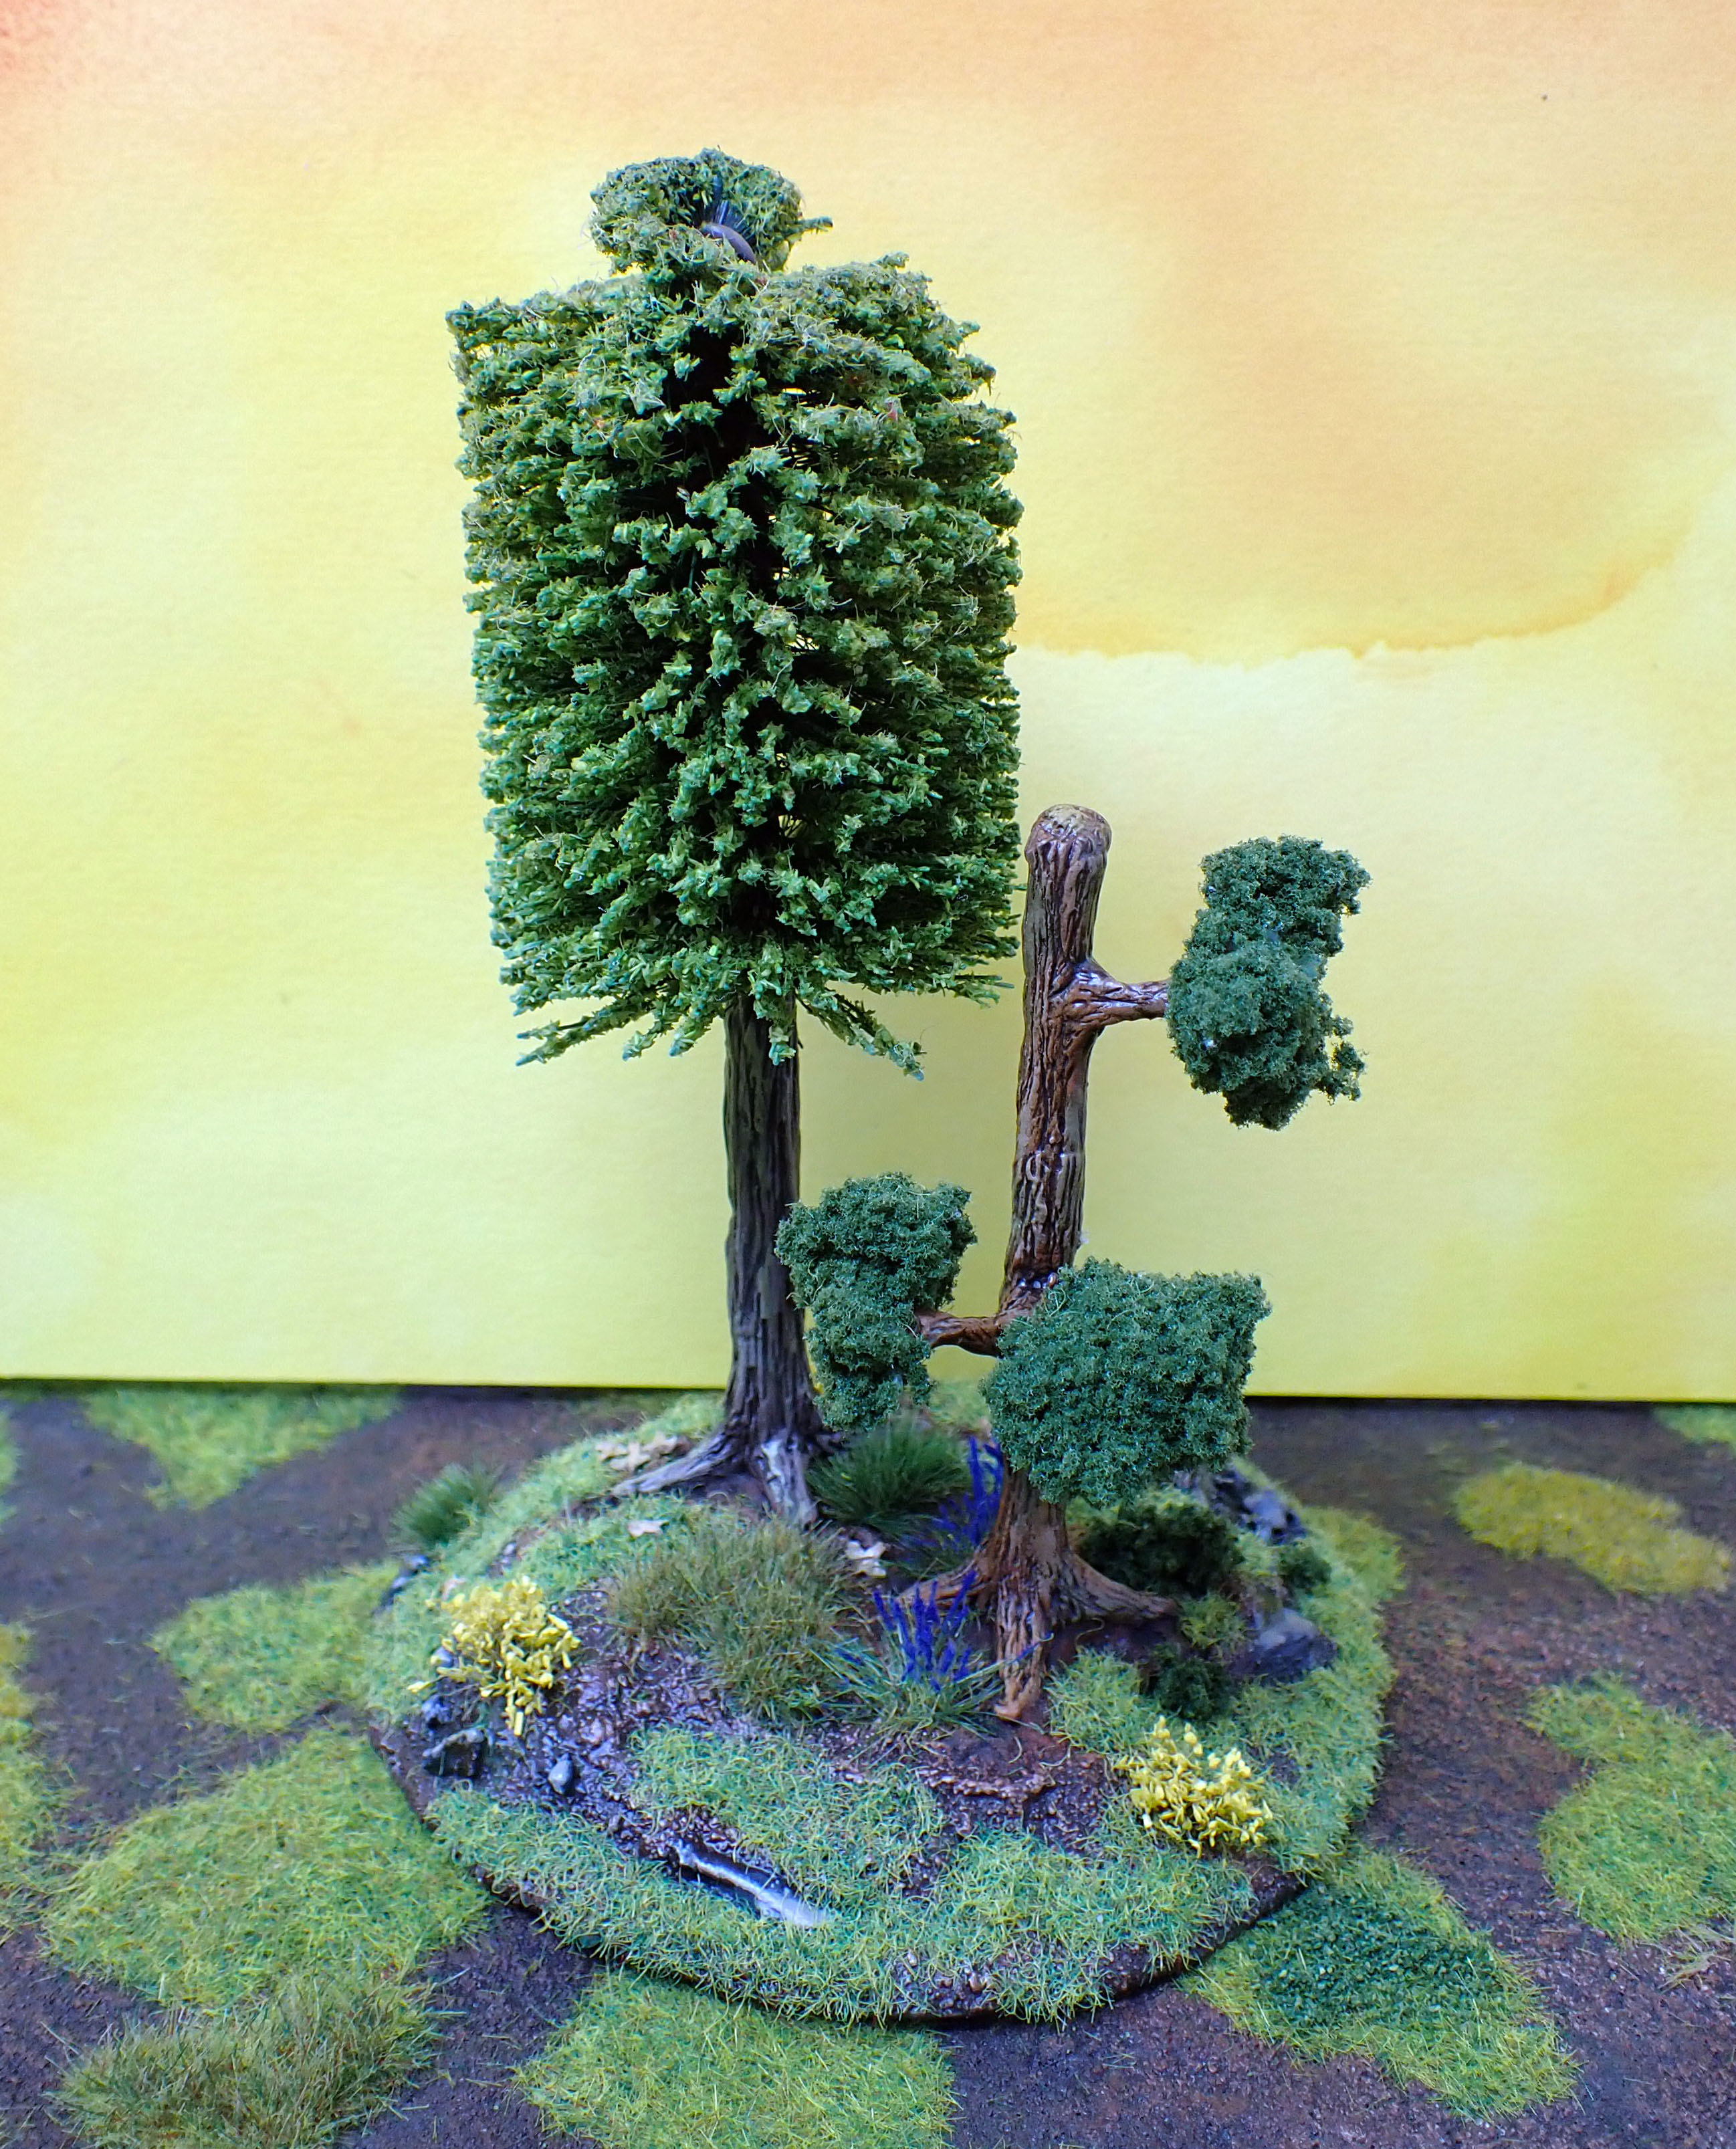
What ’90s style scene would be complete without bottle-brush trees? I made most of these by texturing bottle-brush handles with Green Stuff, then painting them (brown trunks, green branches) and sticking on flock to the actual brushes with lots of layers of glue and varnish. One of them is an old ’90s Games Workshop tree that I re-based, and one is a much more substanitally scratch-built affair – a twisted wire armature layered up with Green Stuff with clump foliage stuck on with hot glue.
I’ve also been trying to up my photography game. A few months ago I bought an Olympus ‘Tough TG-6 Action Camera’, which is supposed to be a good point-and-shoot for macro photography, and a basic light box from Amazon. The light comes out a bit unnatural and acidic below, but some test-shots of minis came out warmer.


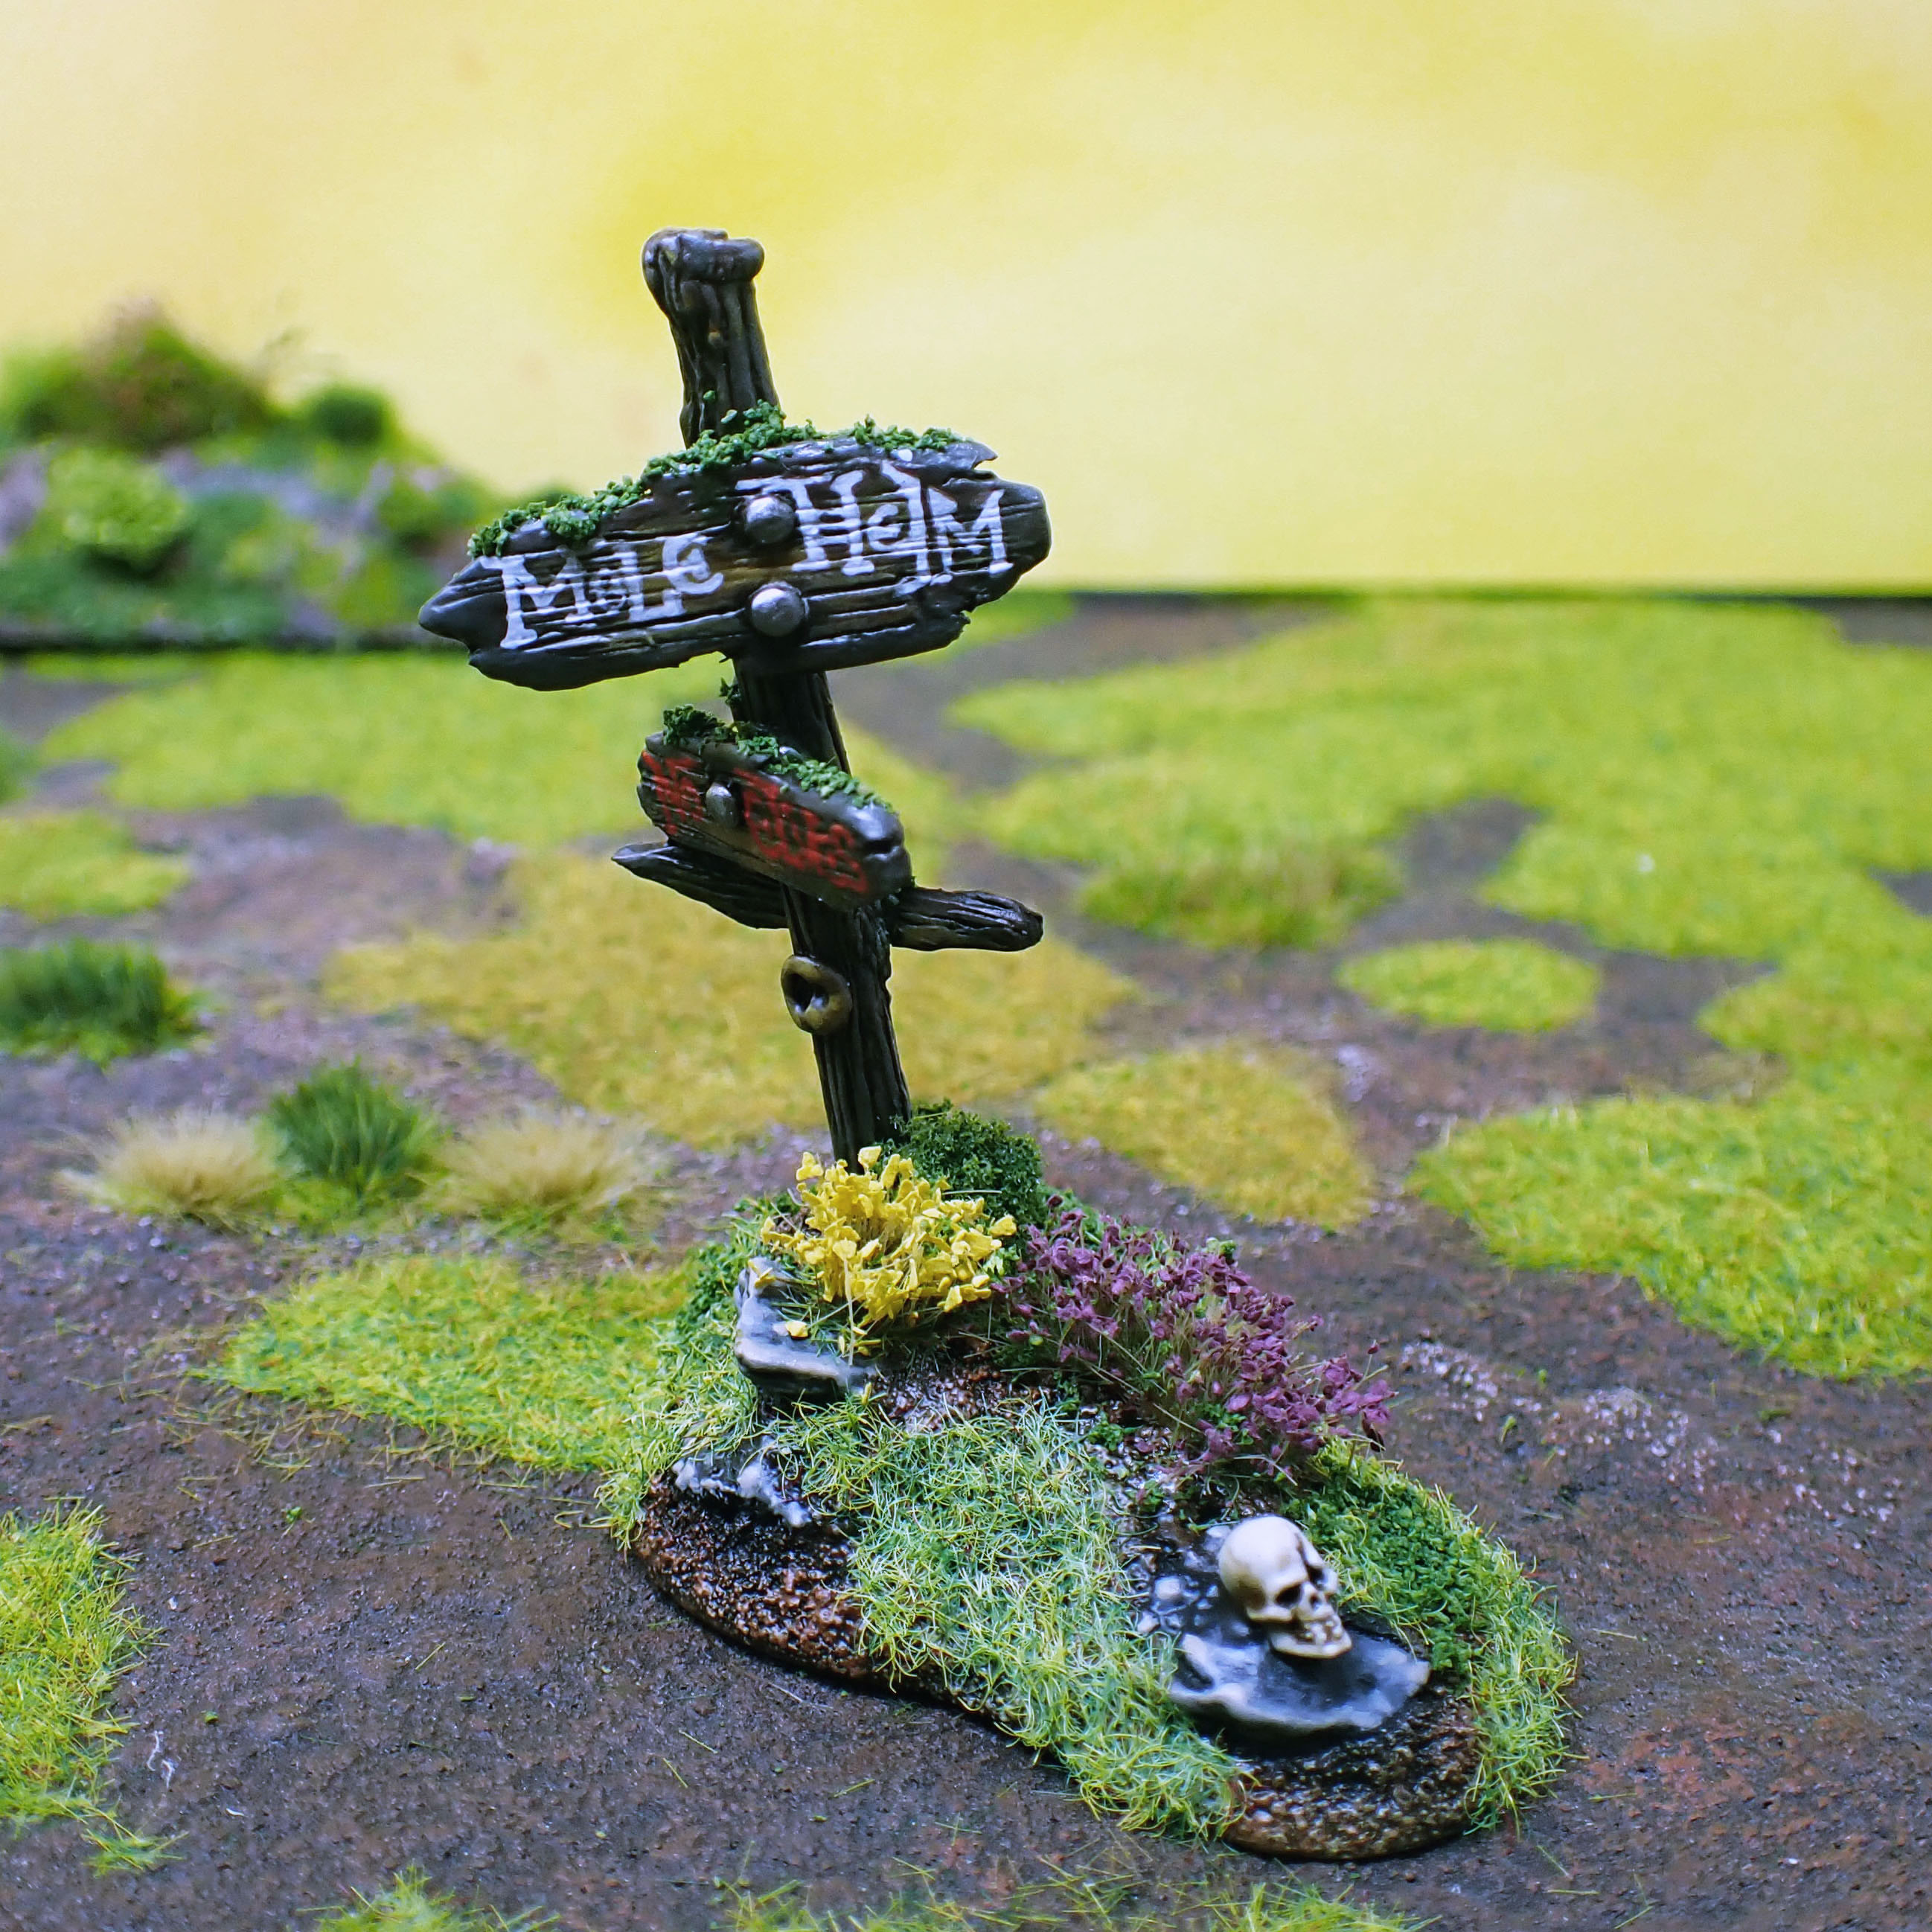
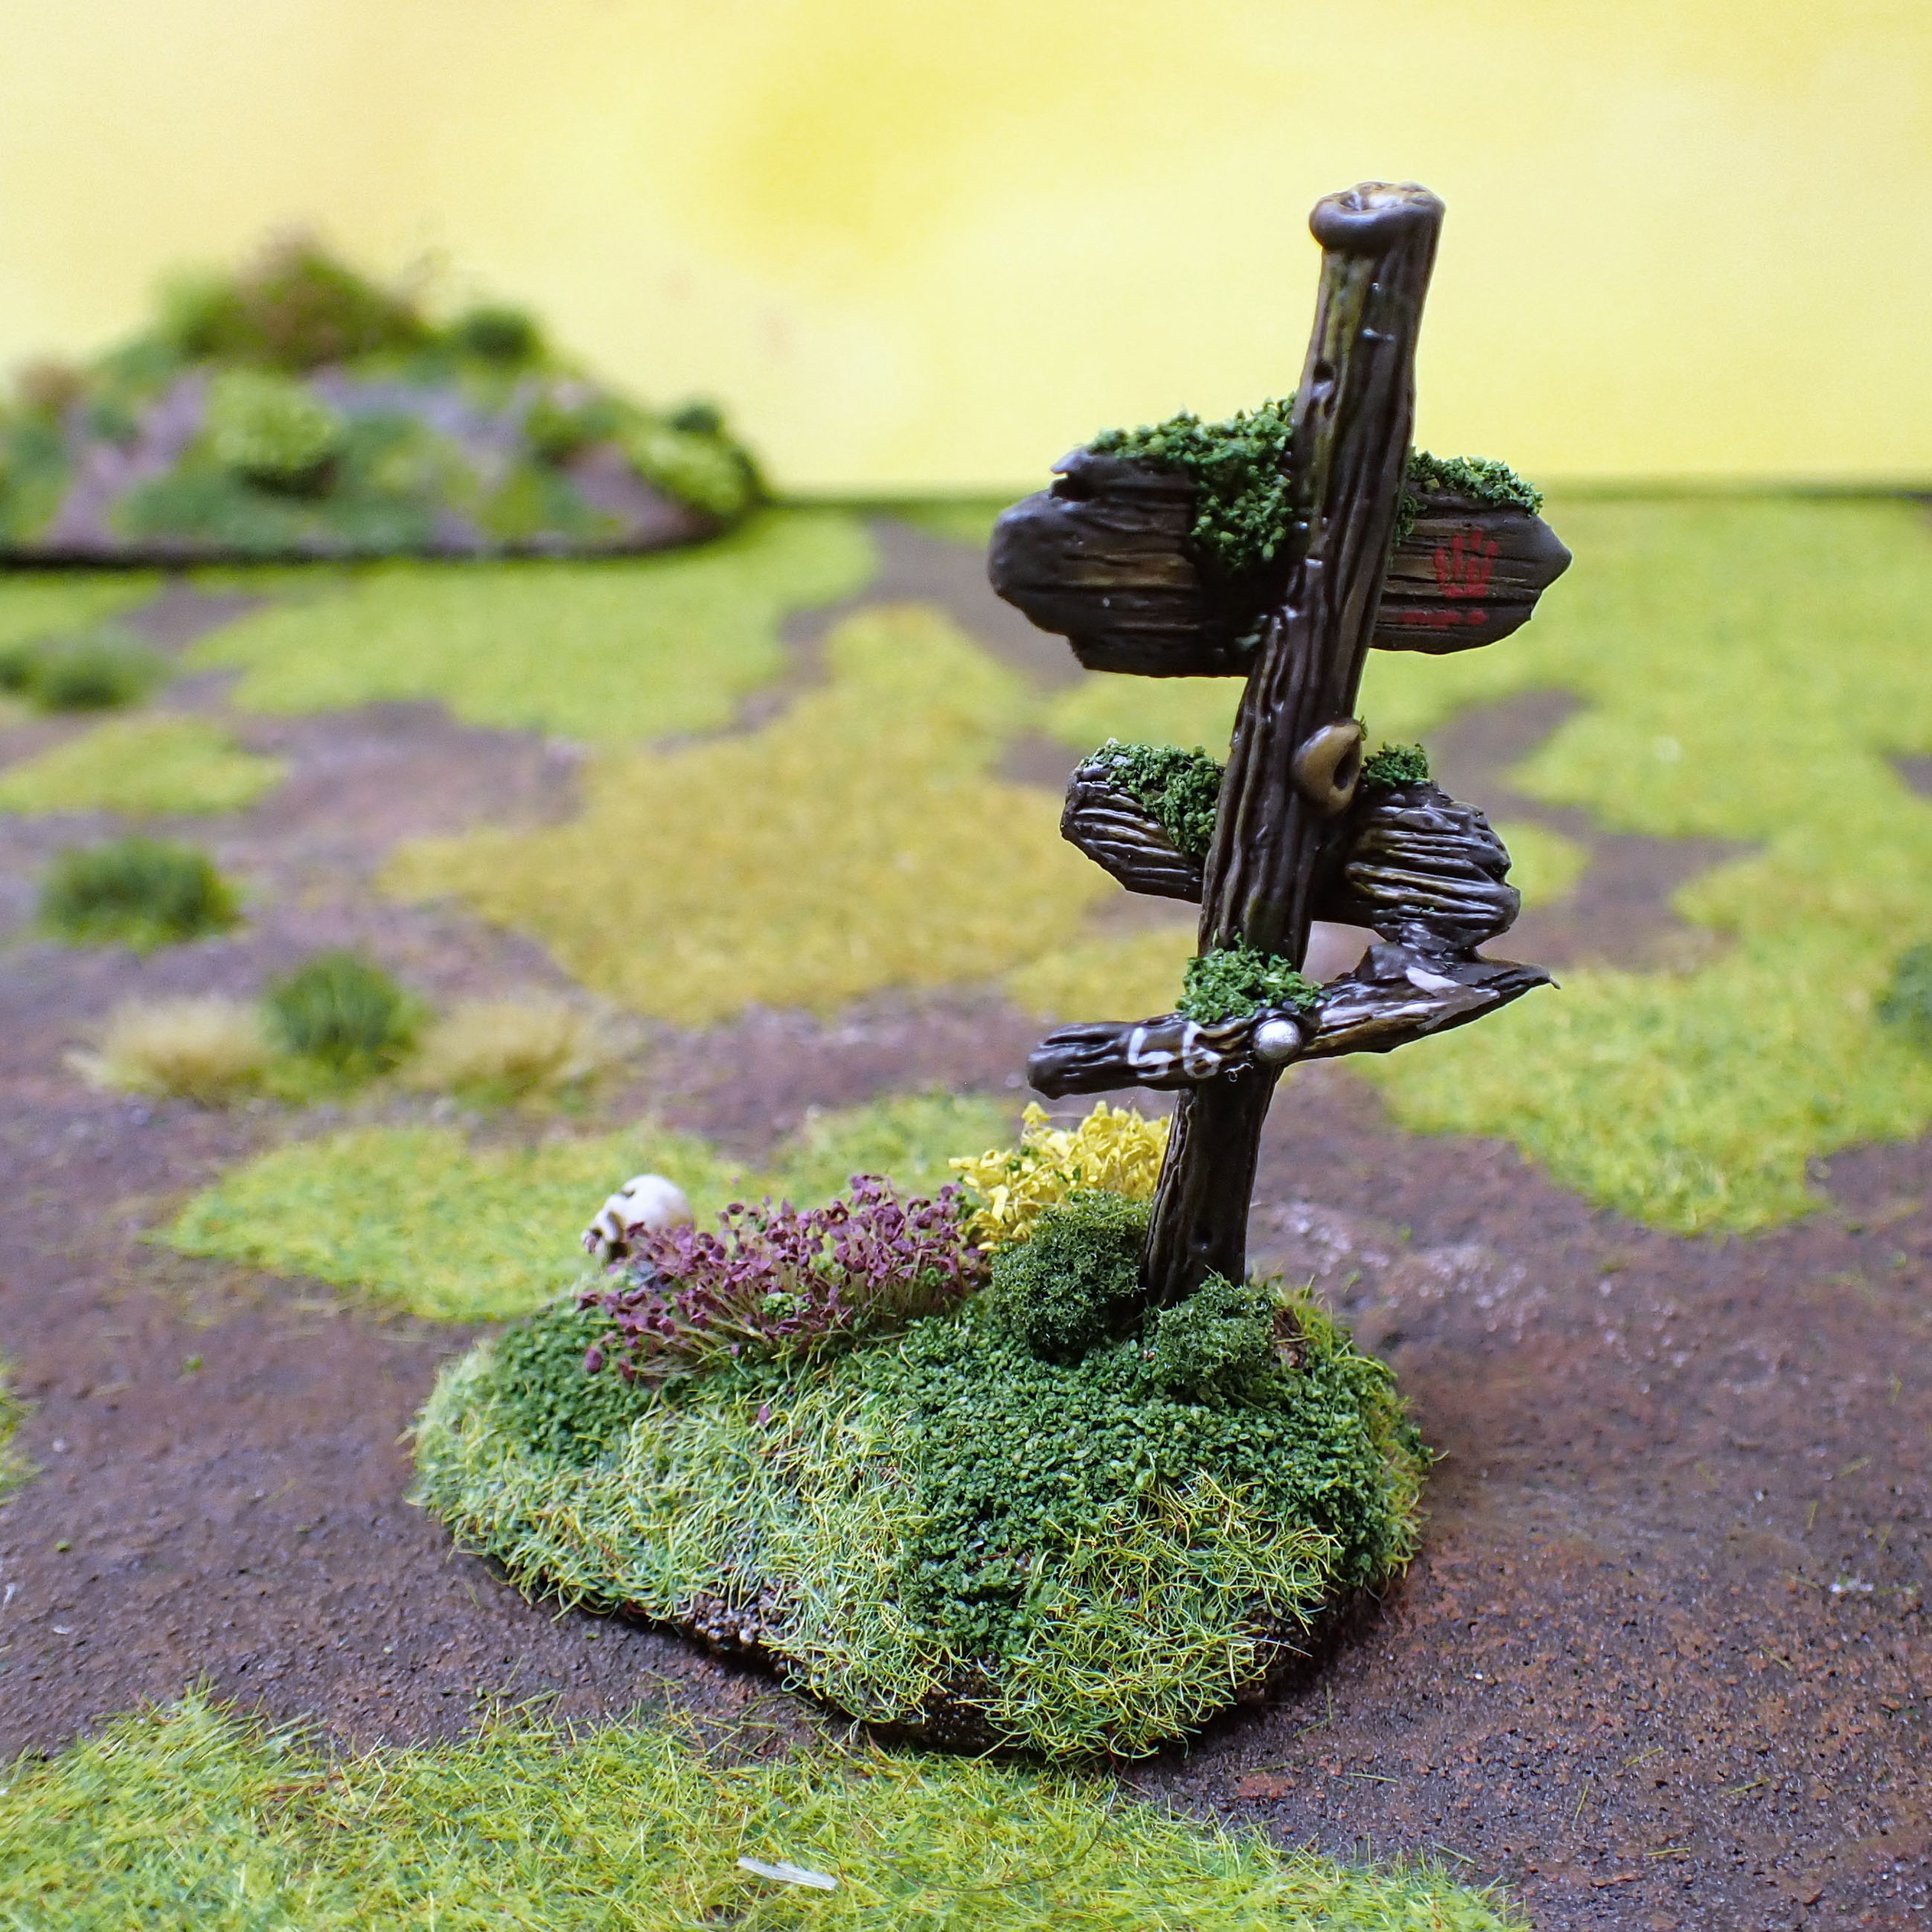
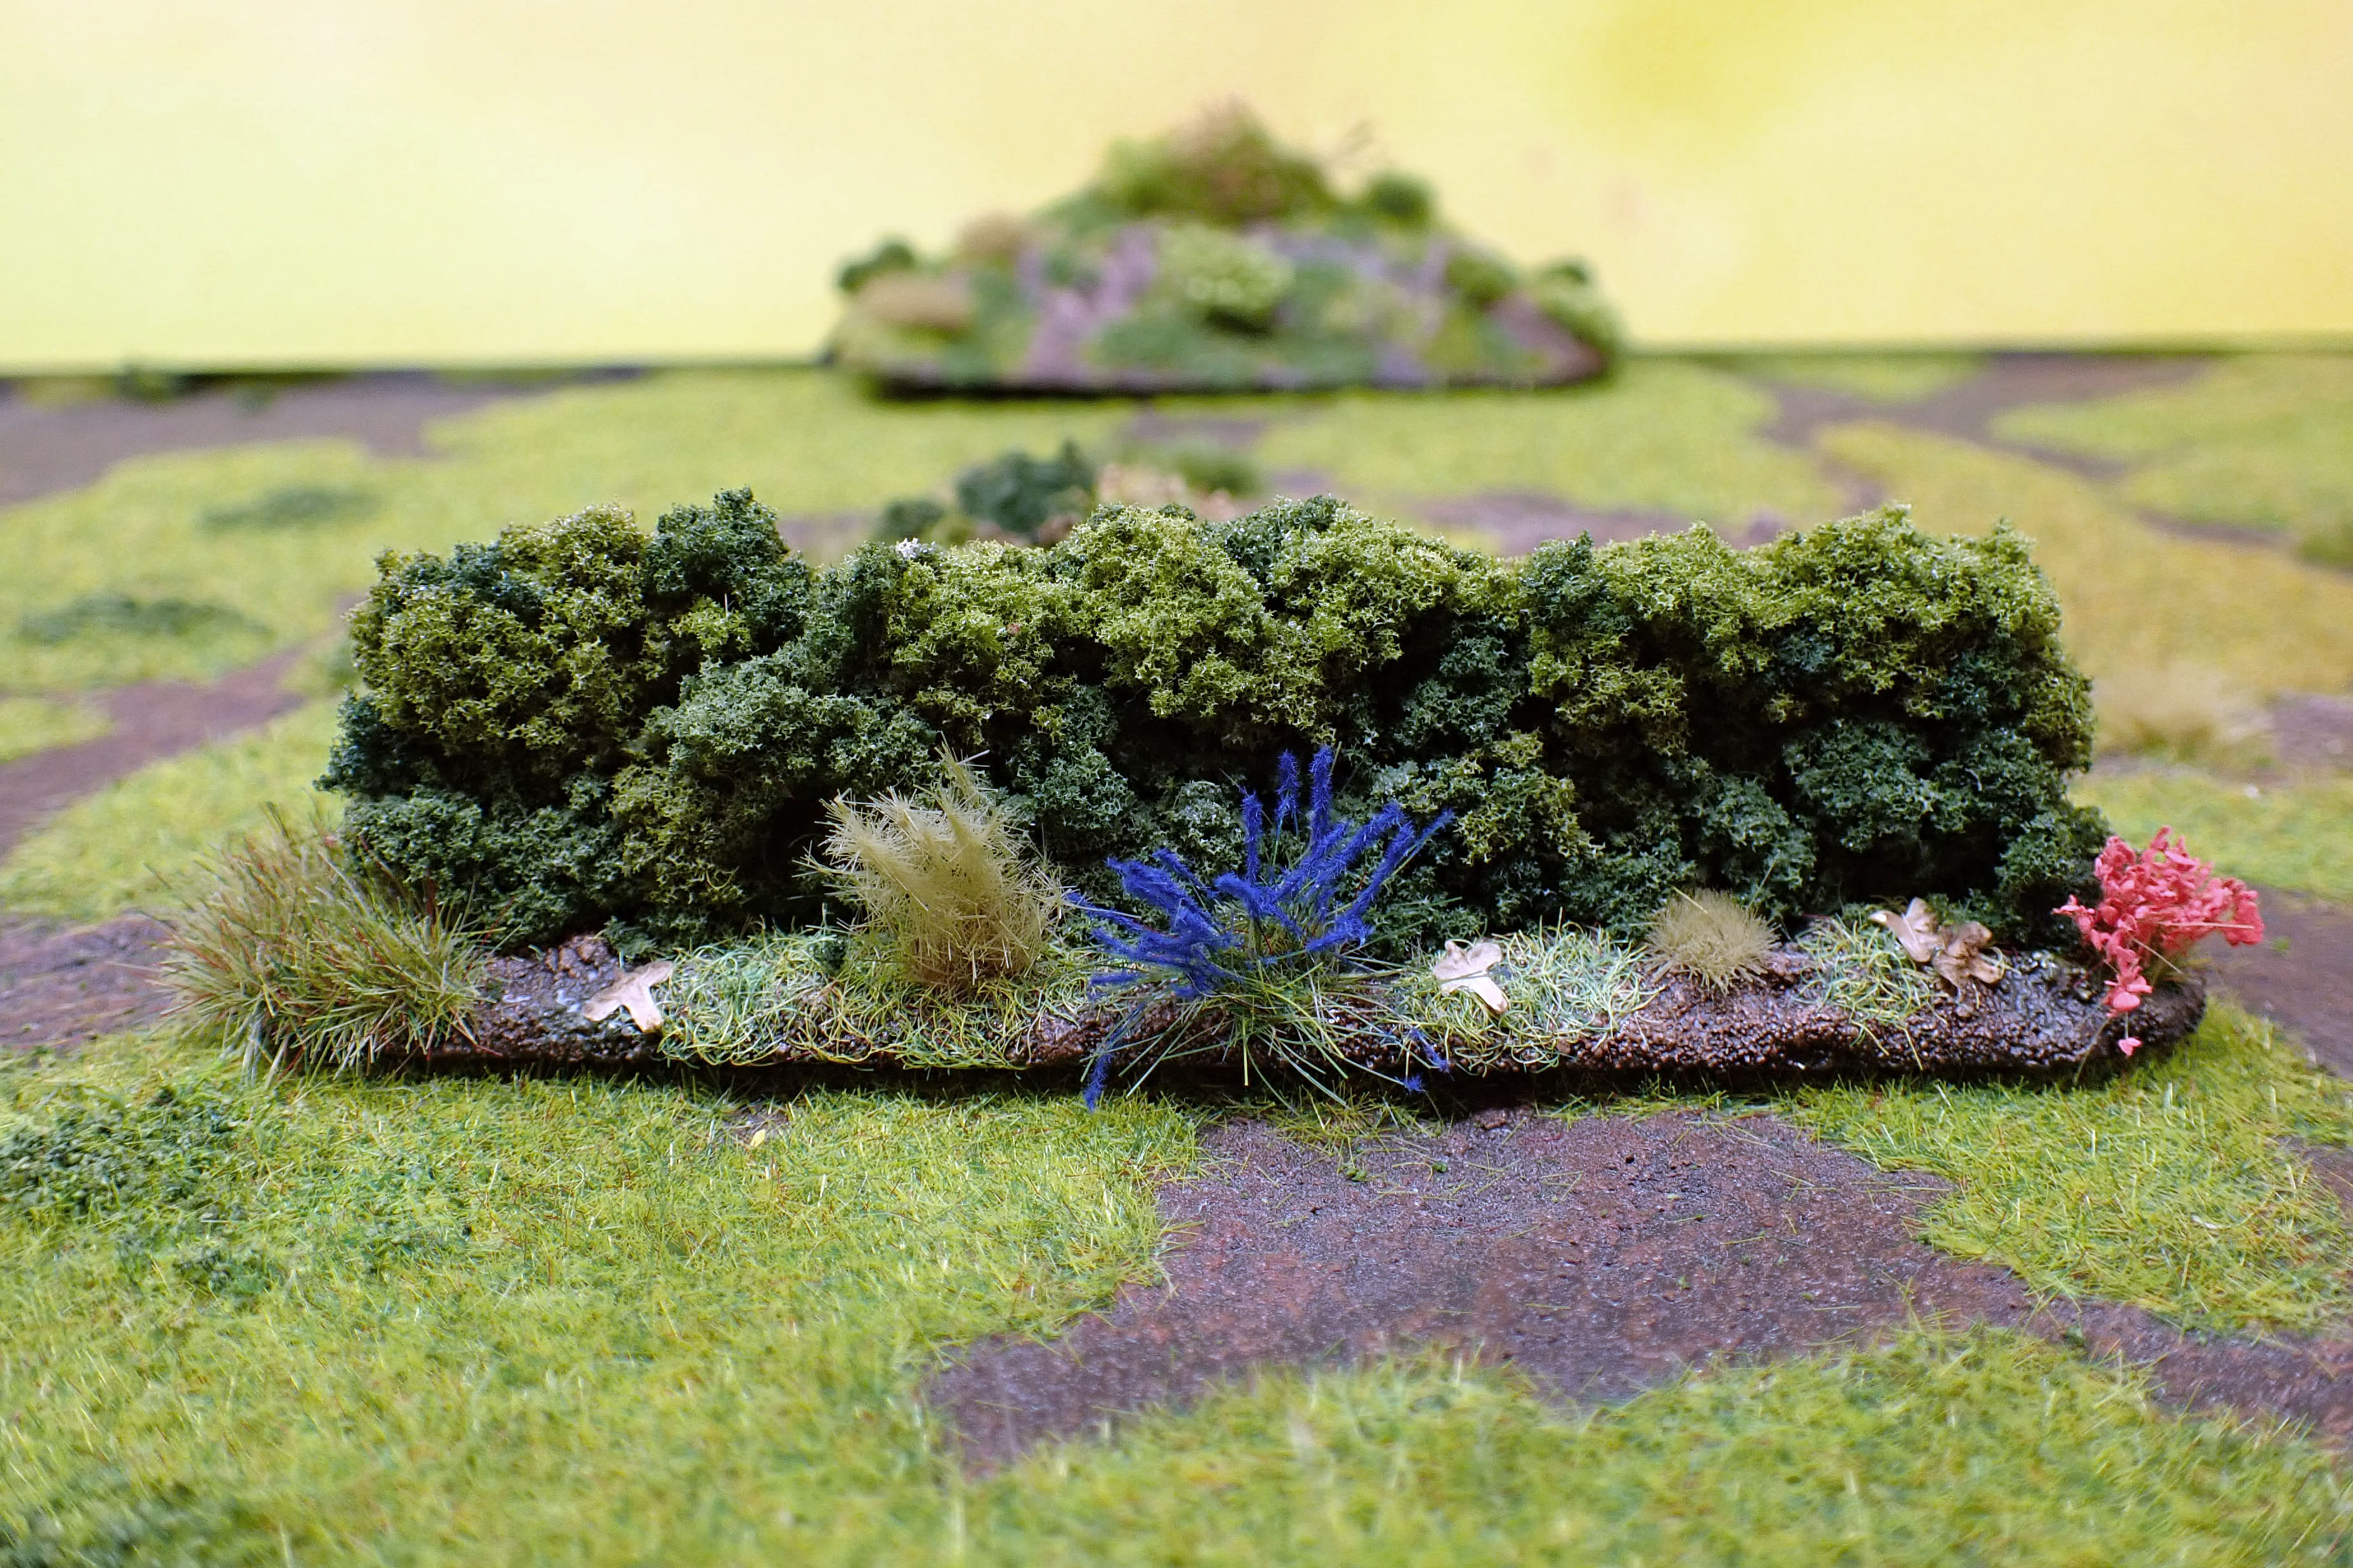
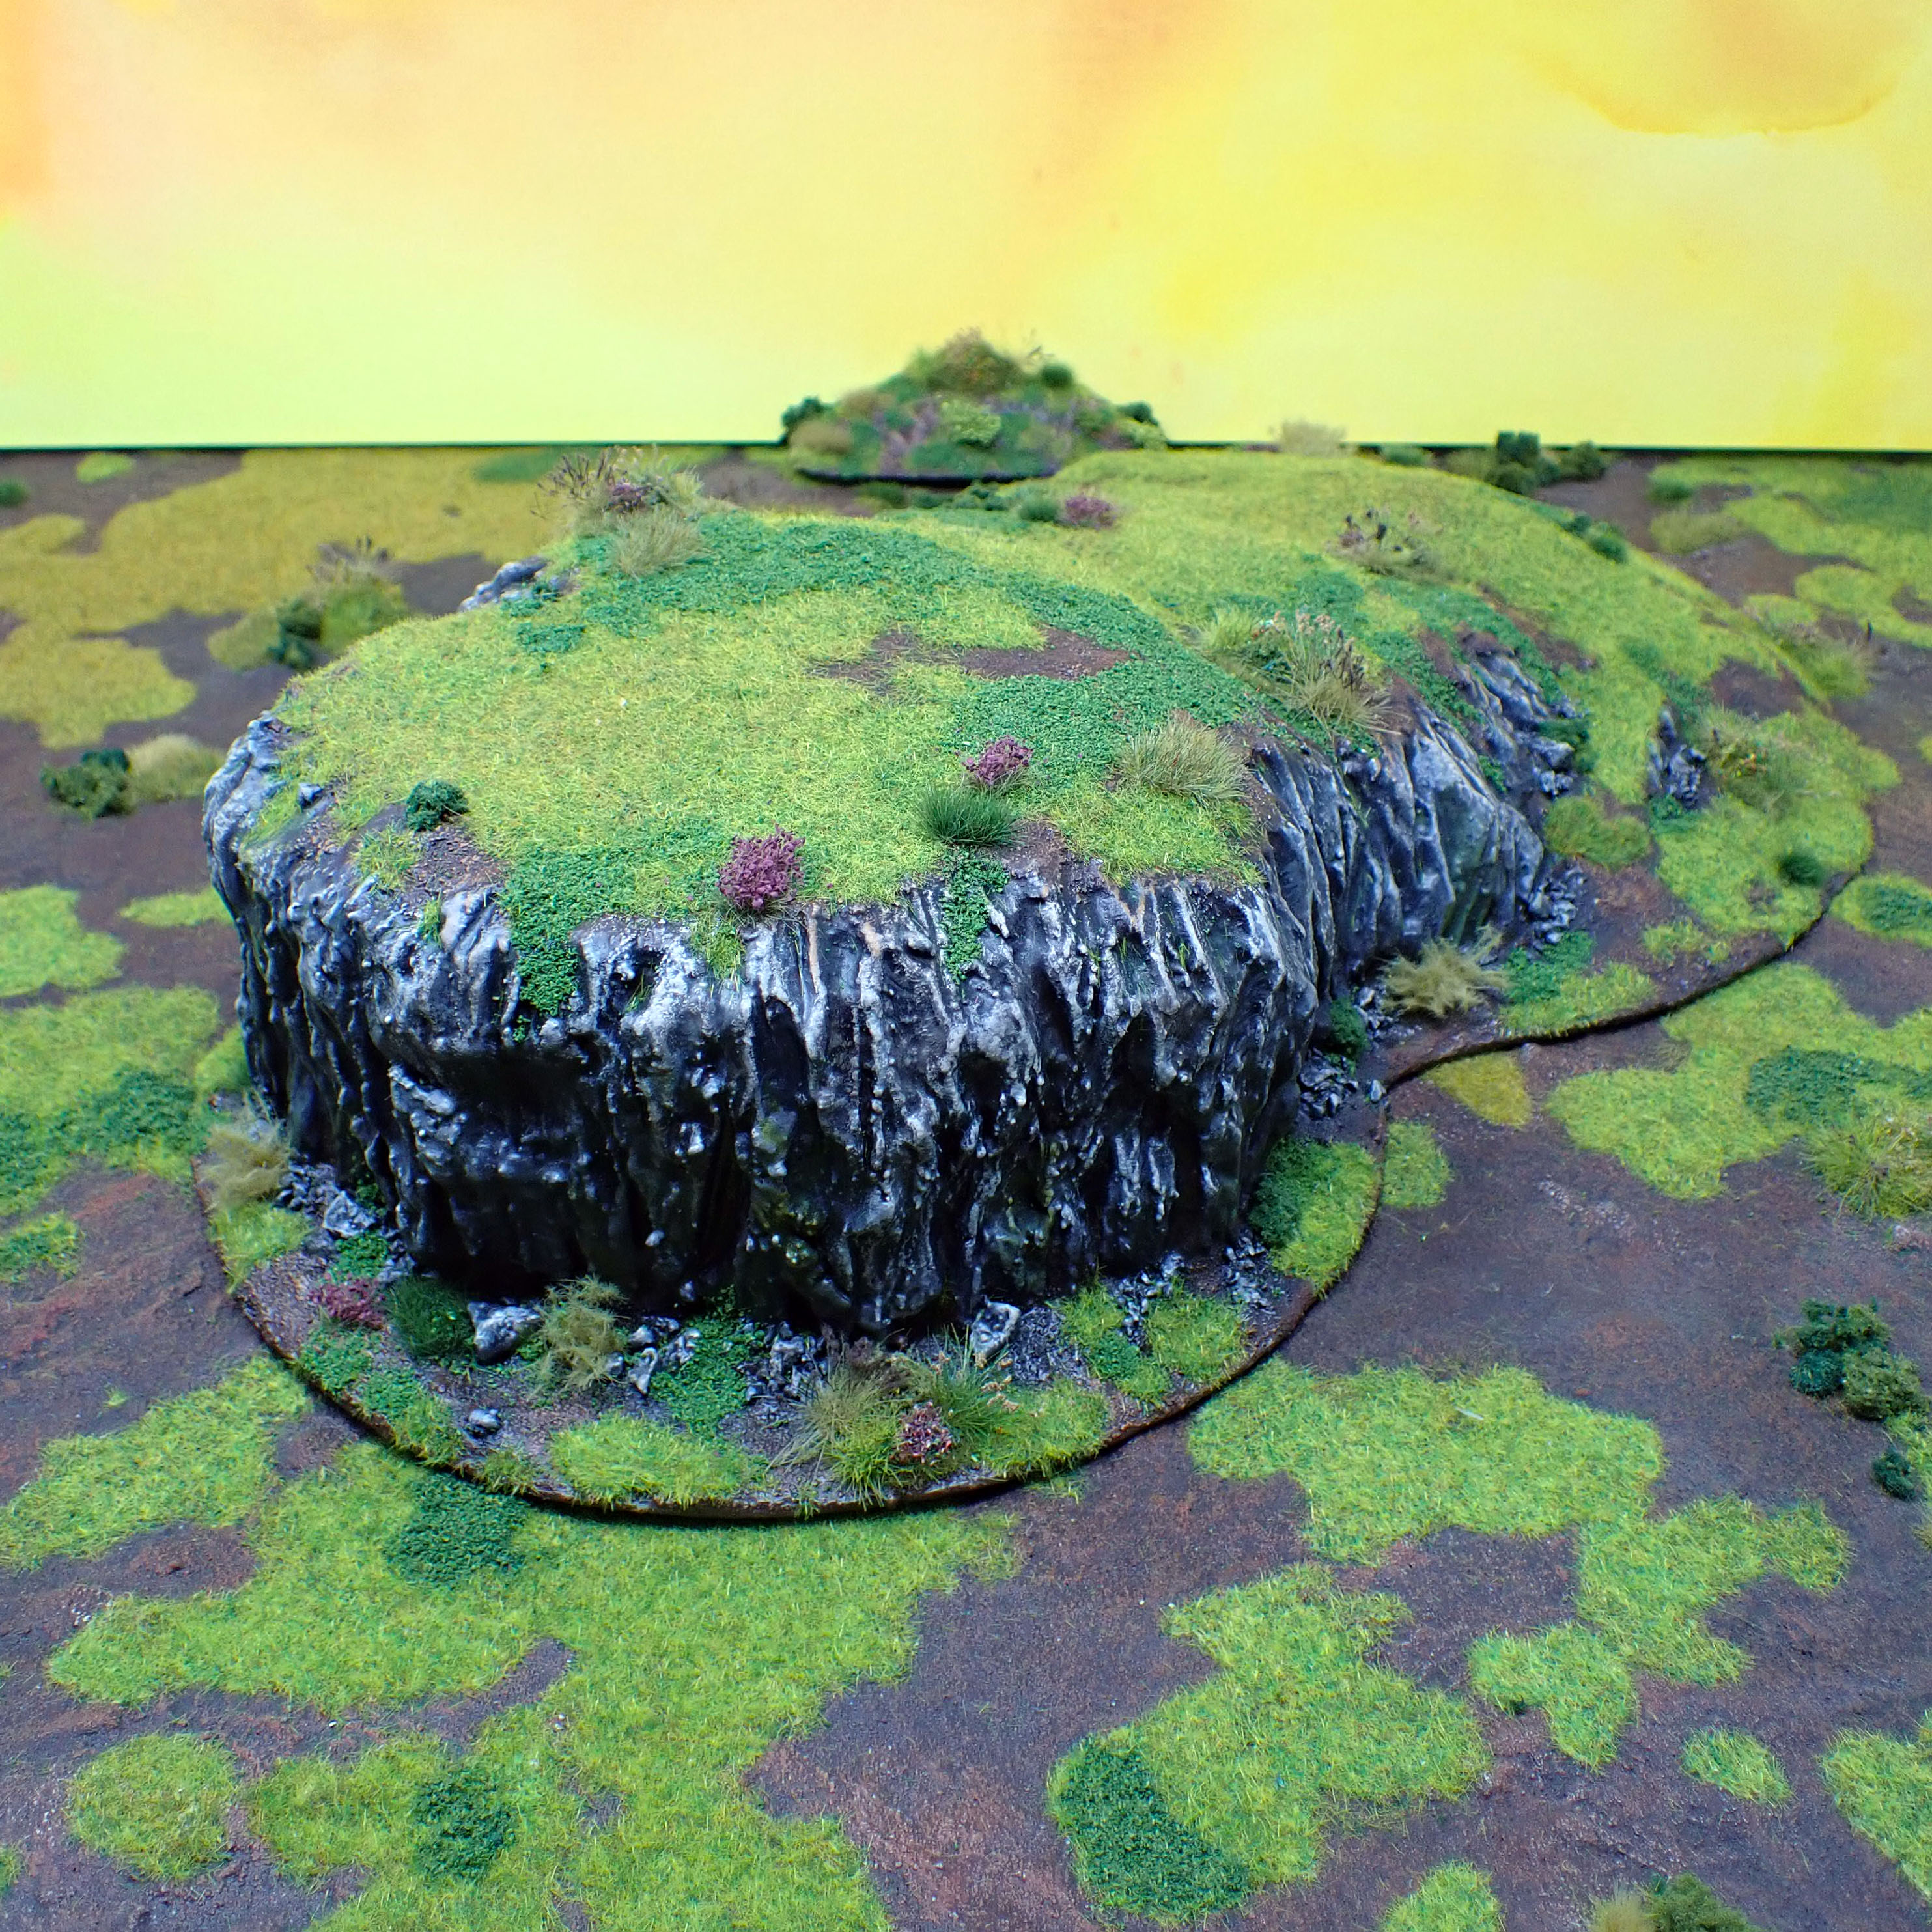
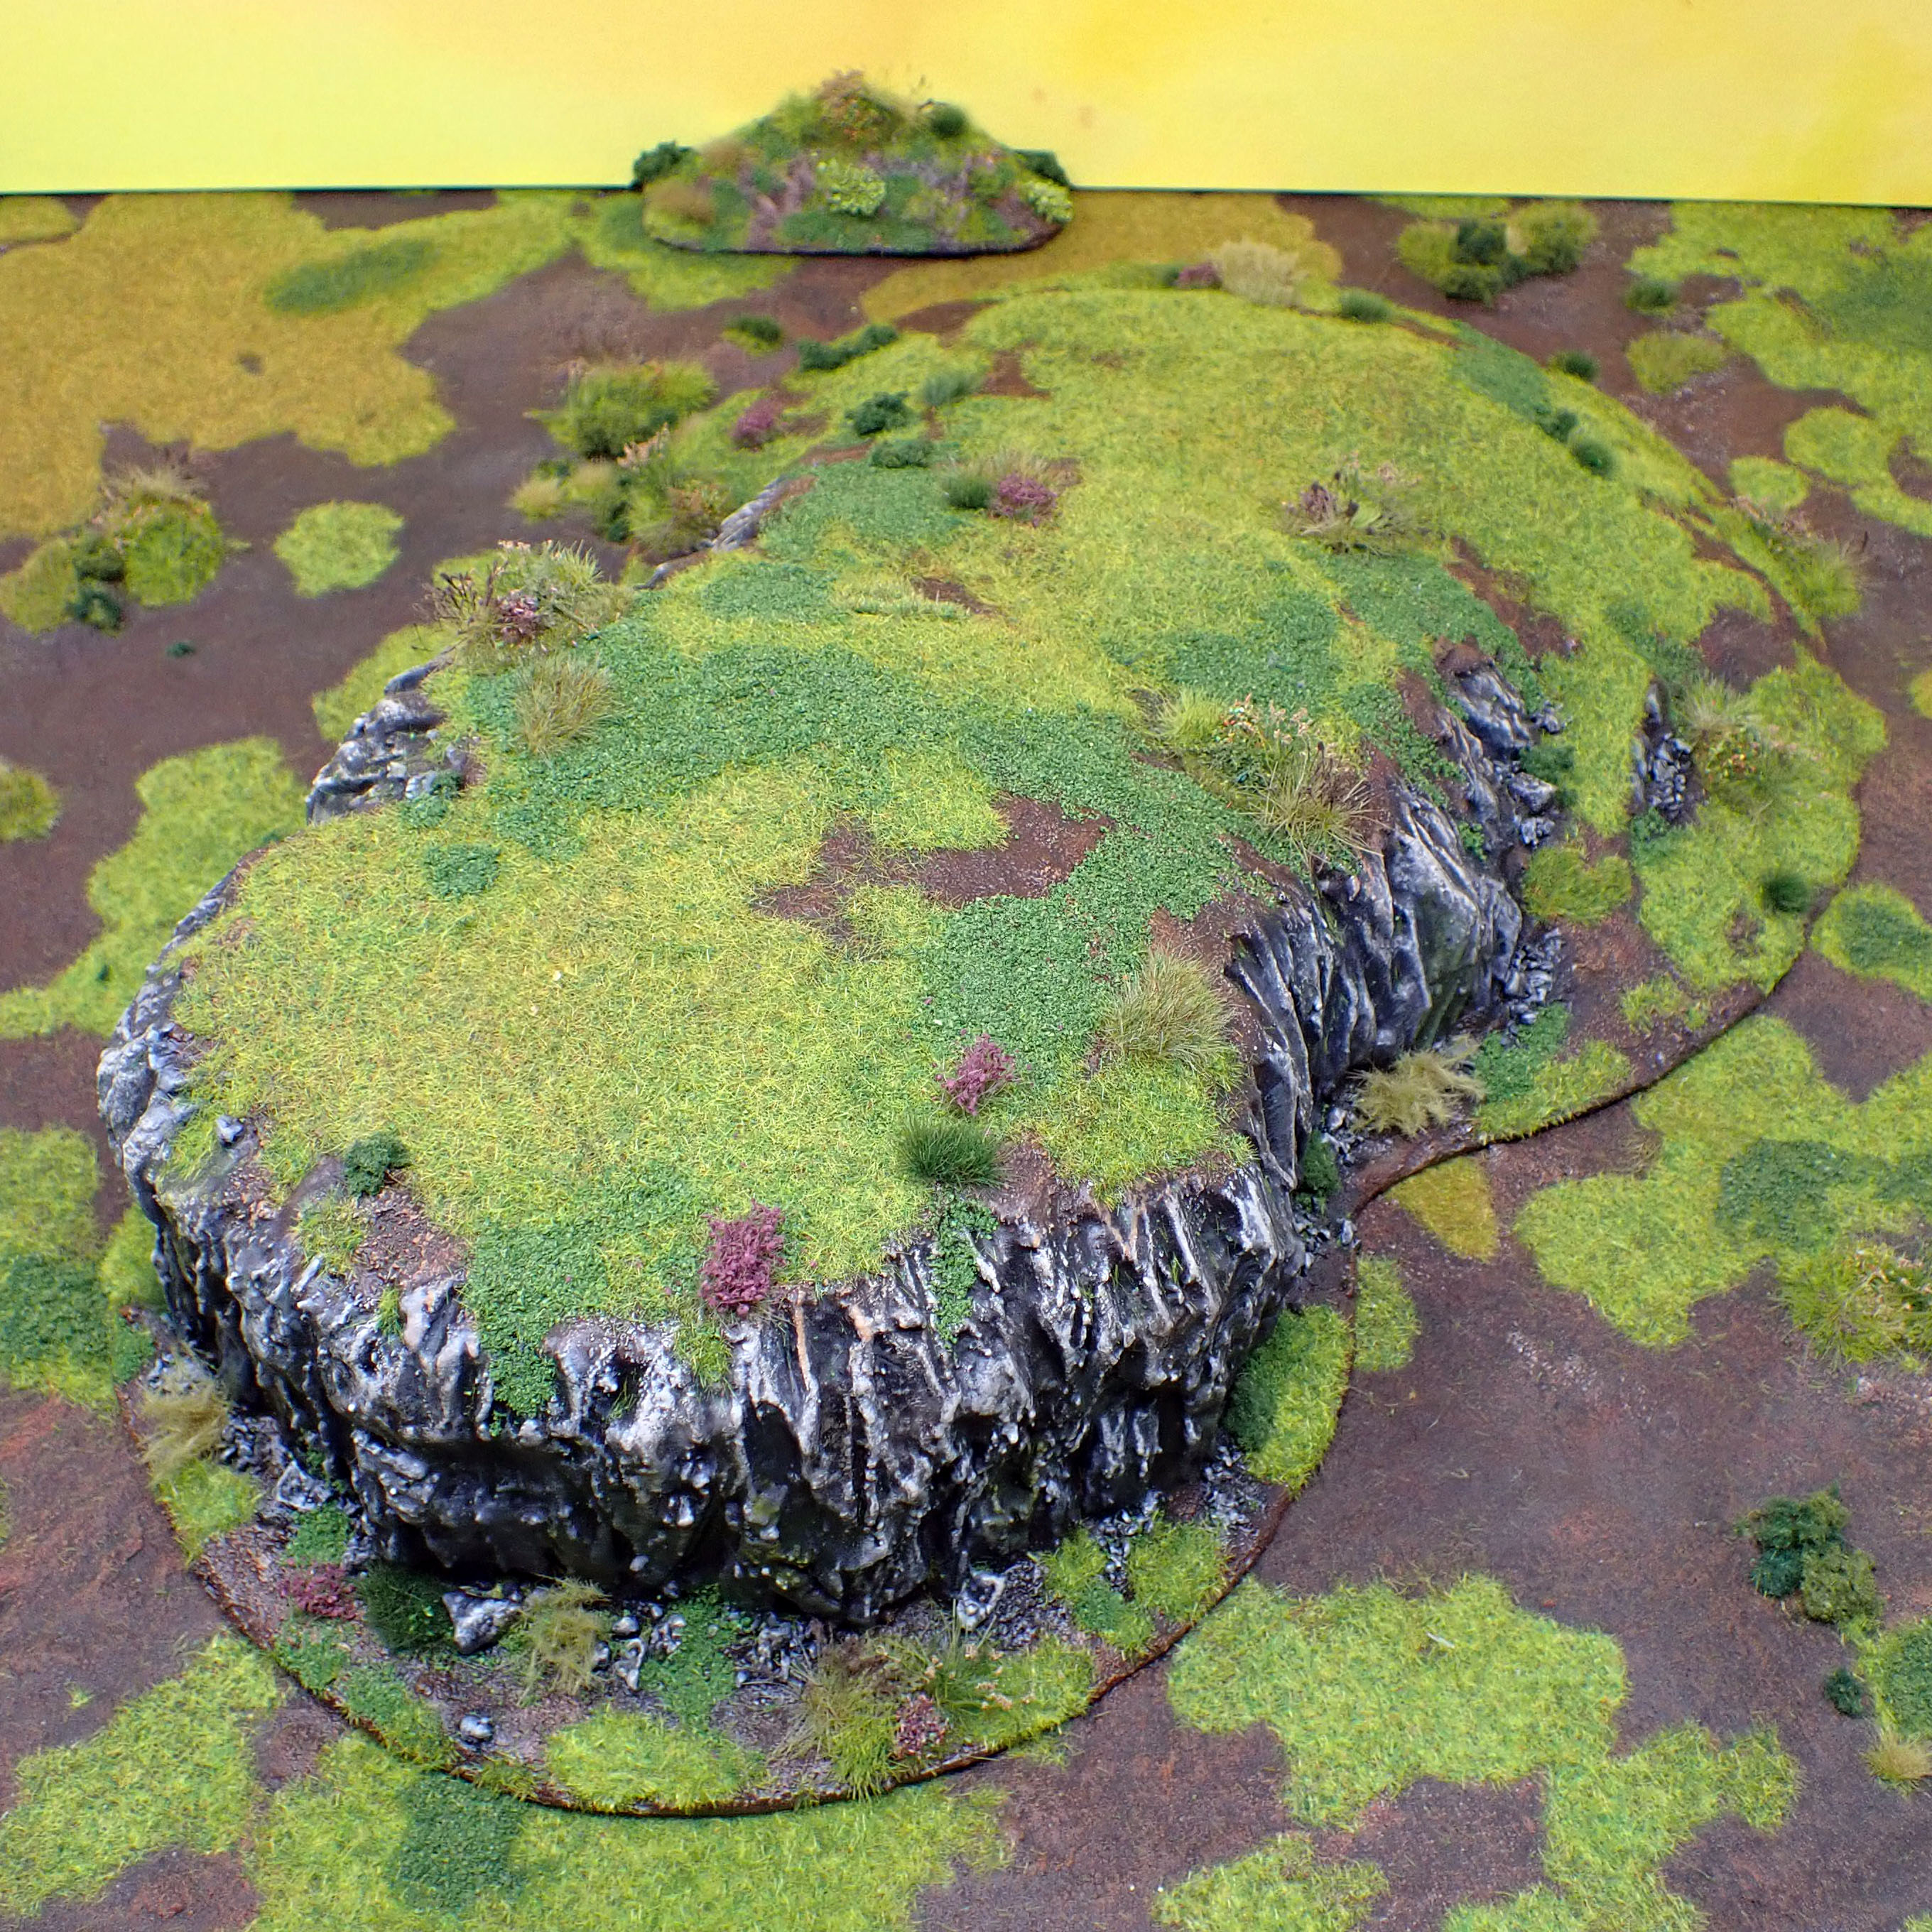
With the house and trees done, a good village needs some walls and signage. I’ve made so-far: a wall using a bag of chunky basing grit, a hedge, I’m working on a fence, and a signpost (made from a wooden skewer and some shards of lollypop stick textured with Green Stuff). I copied the font from the old Mordheim logo, naming the hamlet ‘Moleheim’. Surprisingly, one of the most complex pieces was a craggy hill carved from XPS. I hollowed out the base and reinforced the plasticard with wood and metal braces so it could sit over an uneven surface, and layered up the painting to make it as durable as possible.


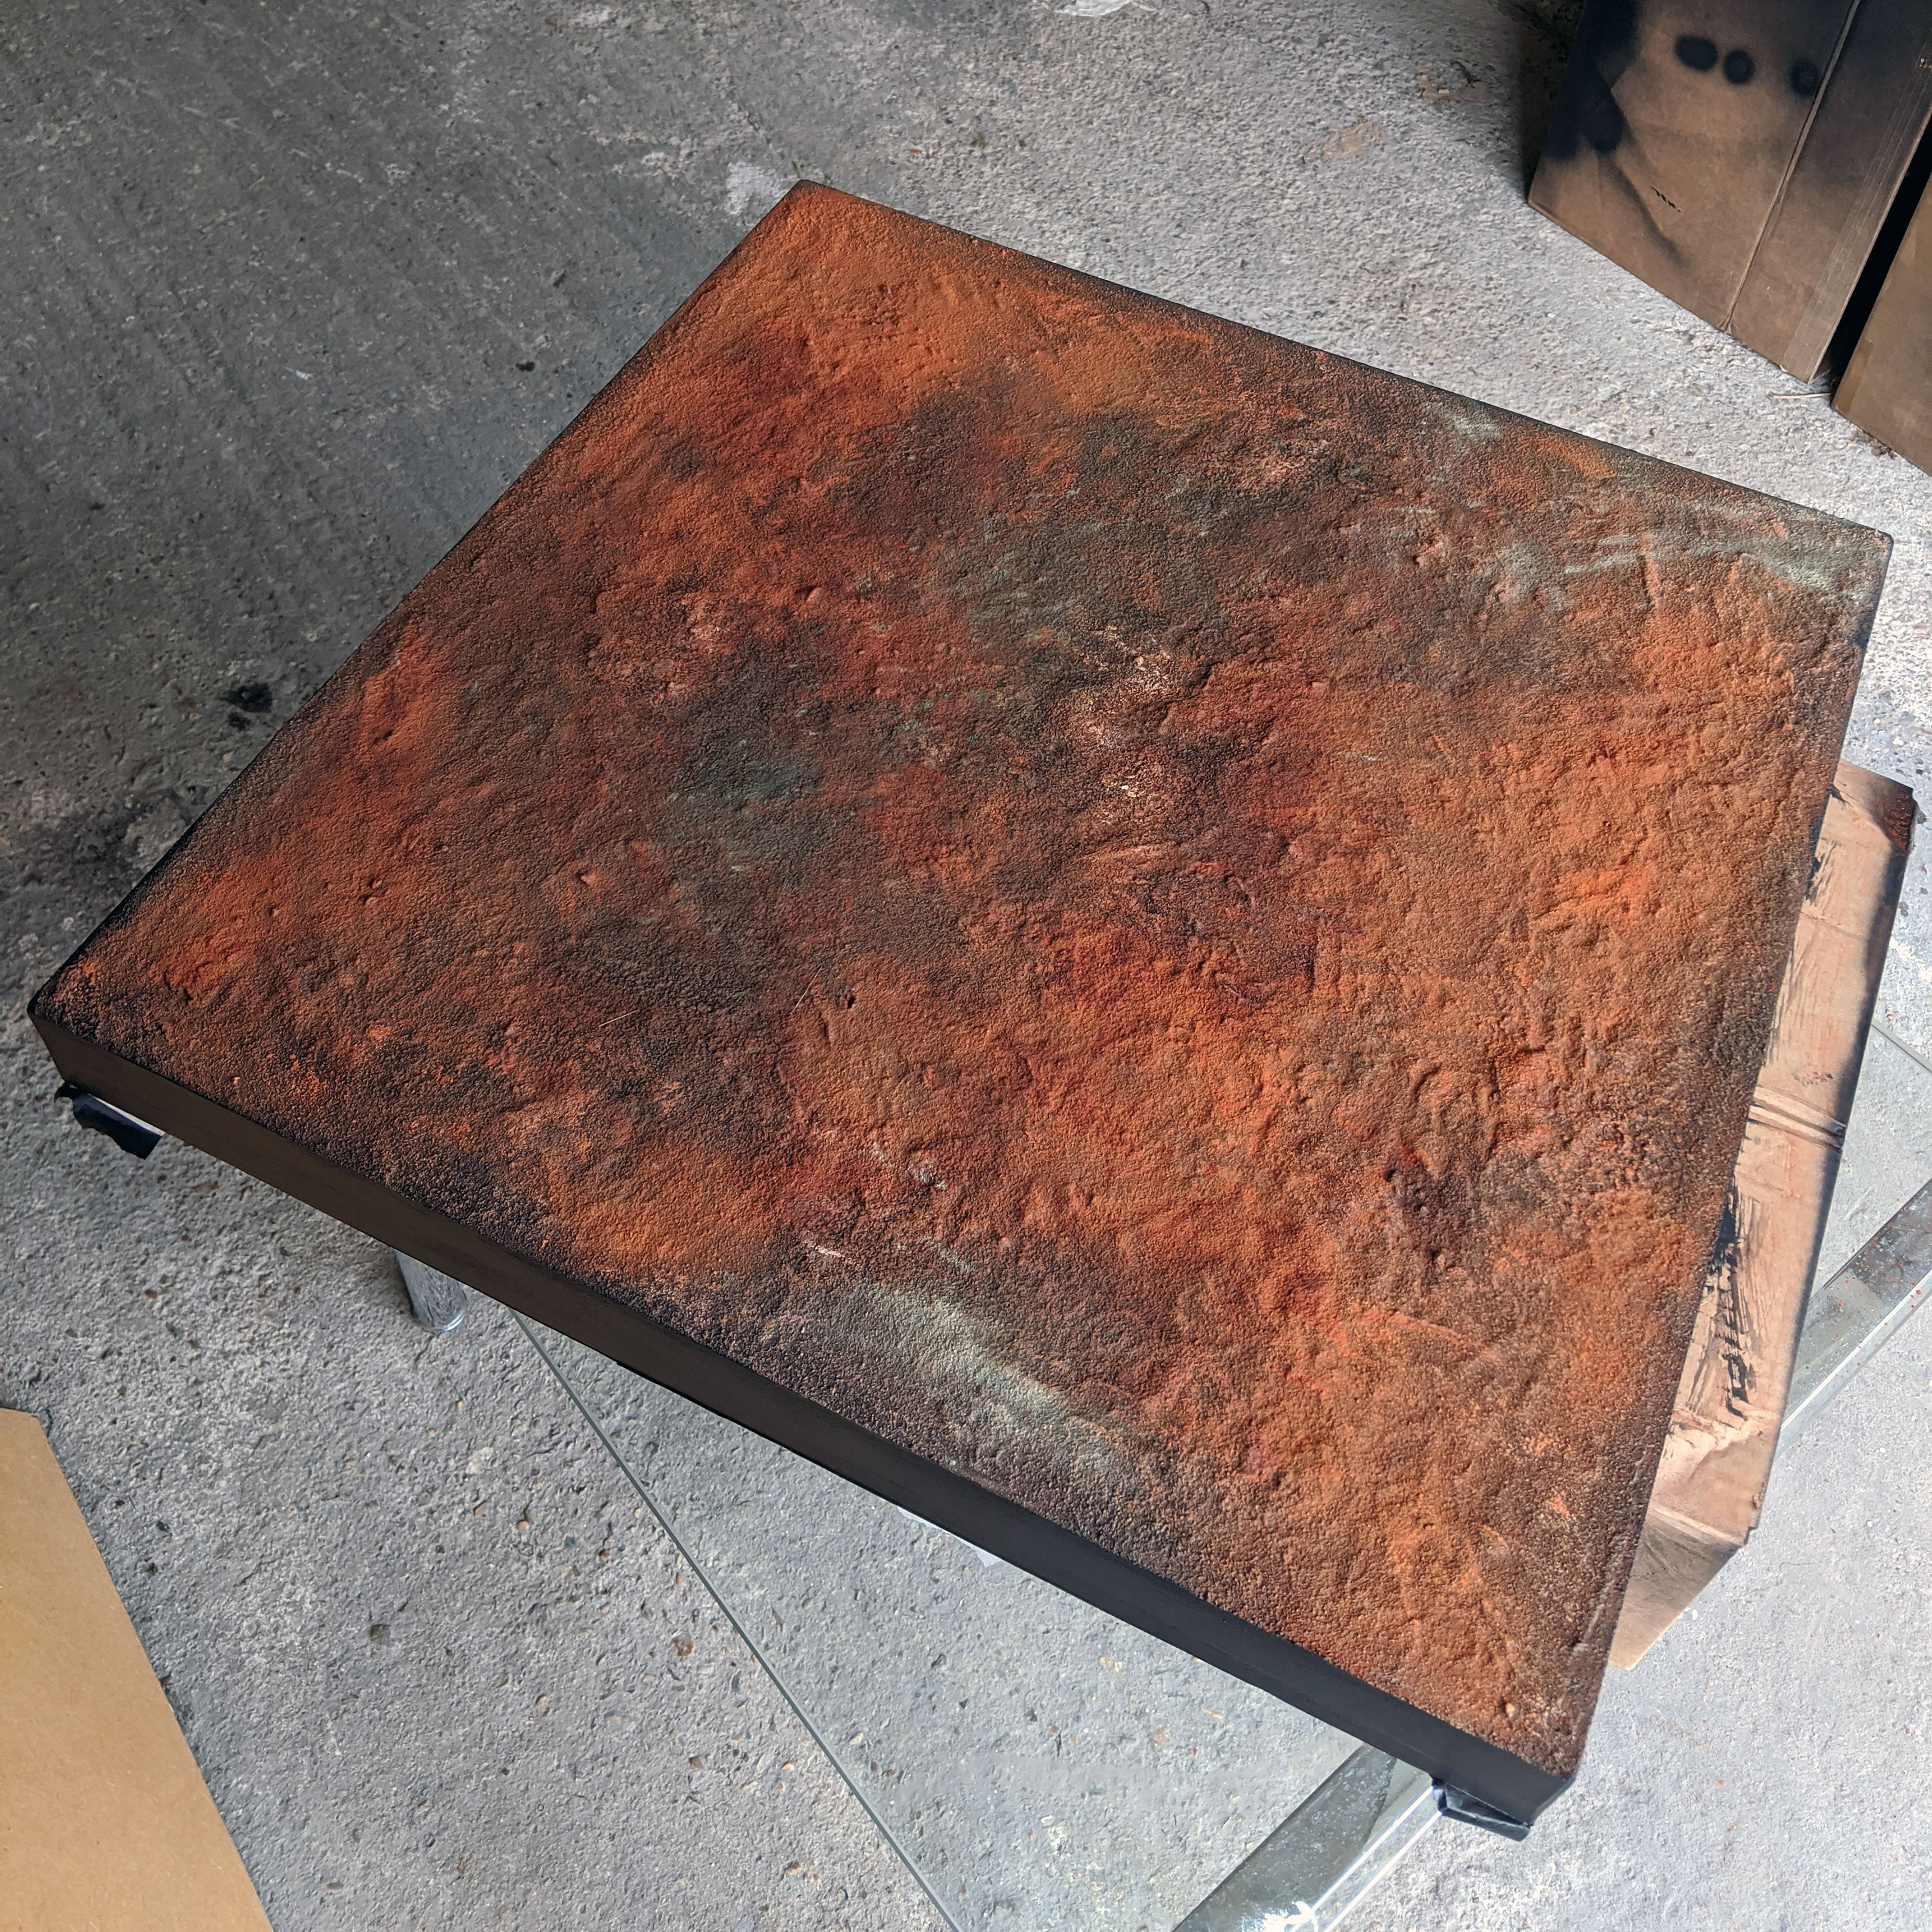
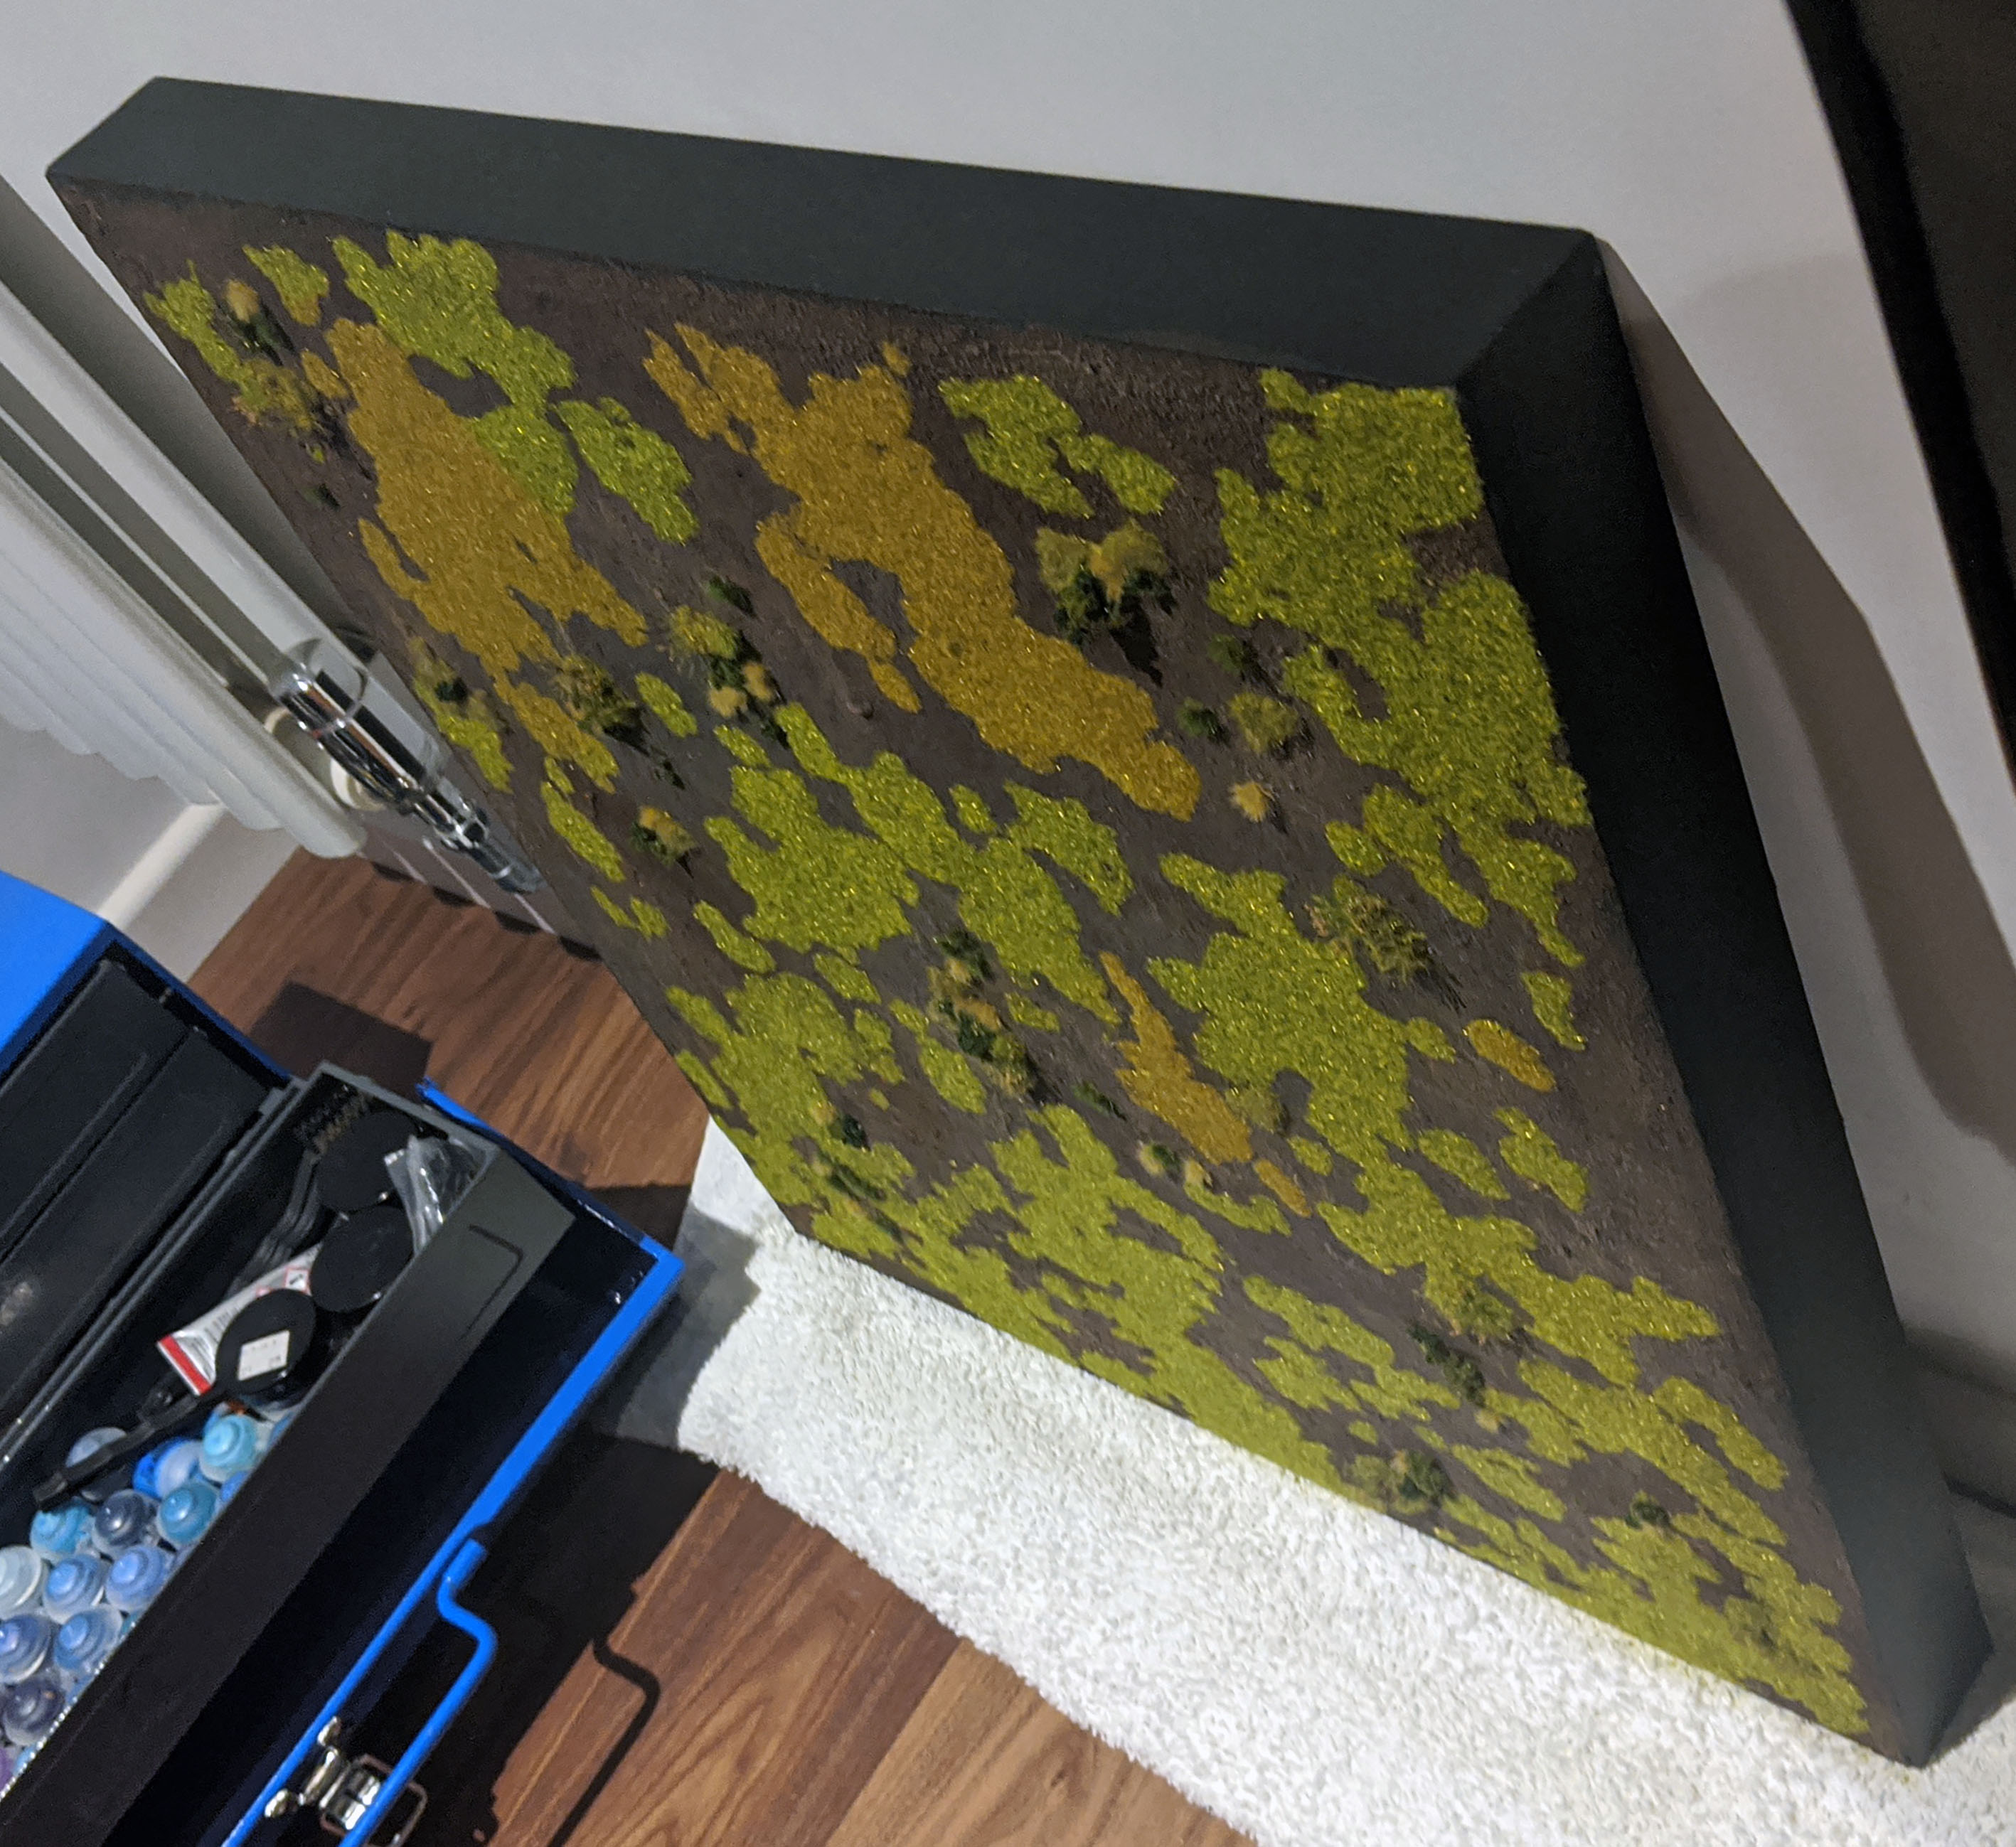
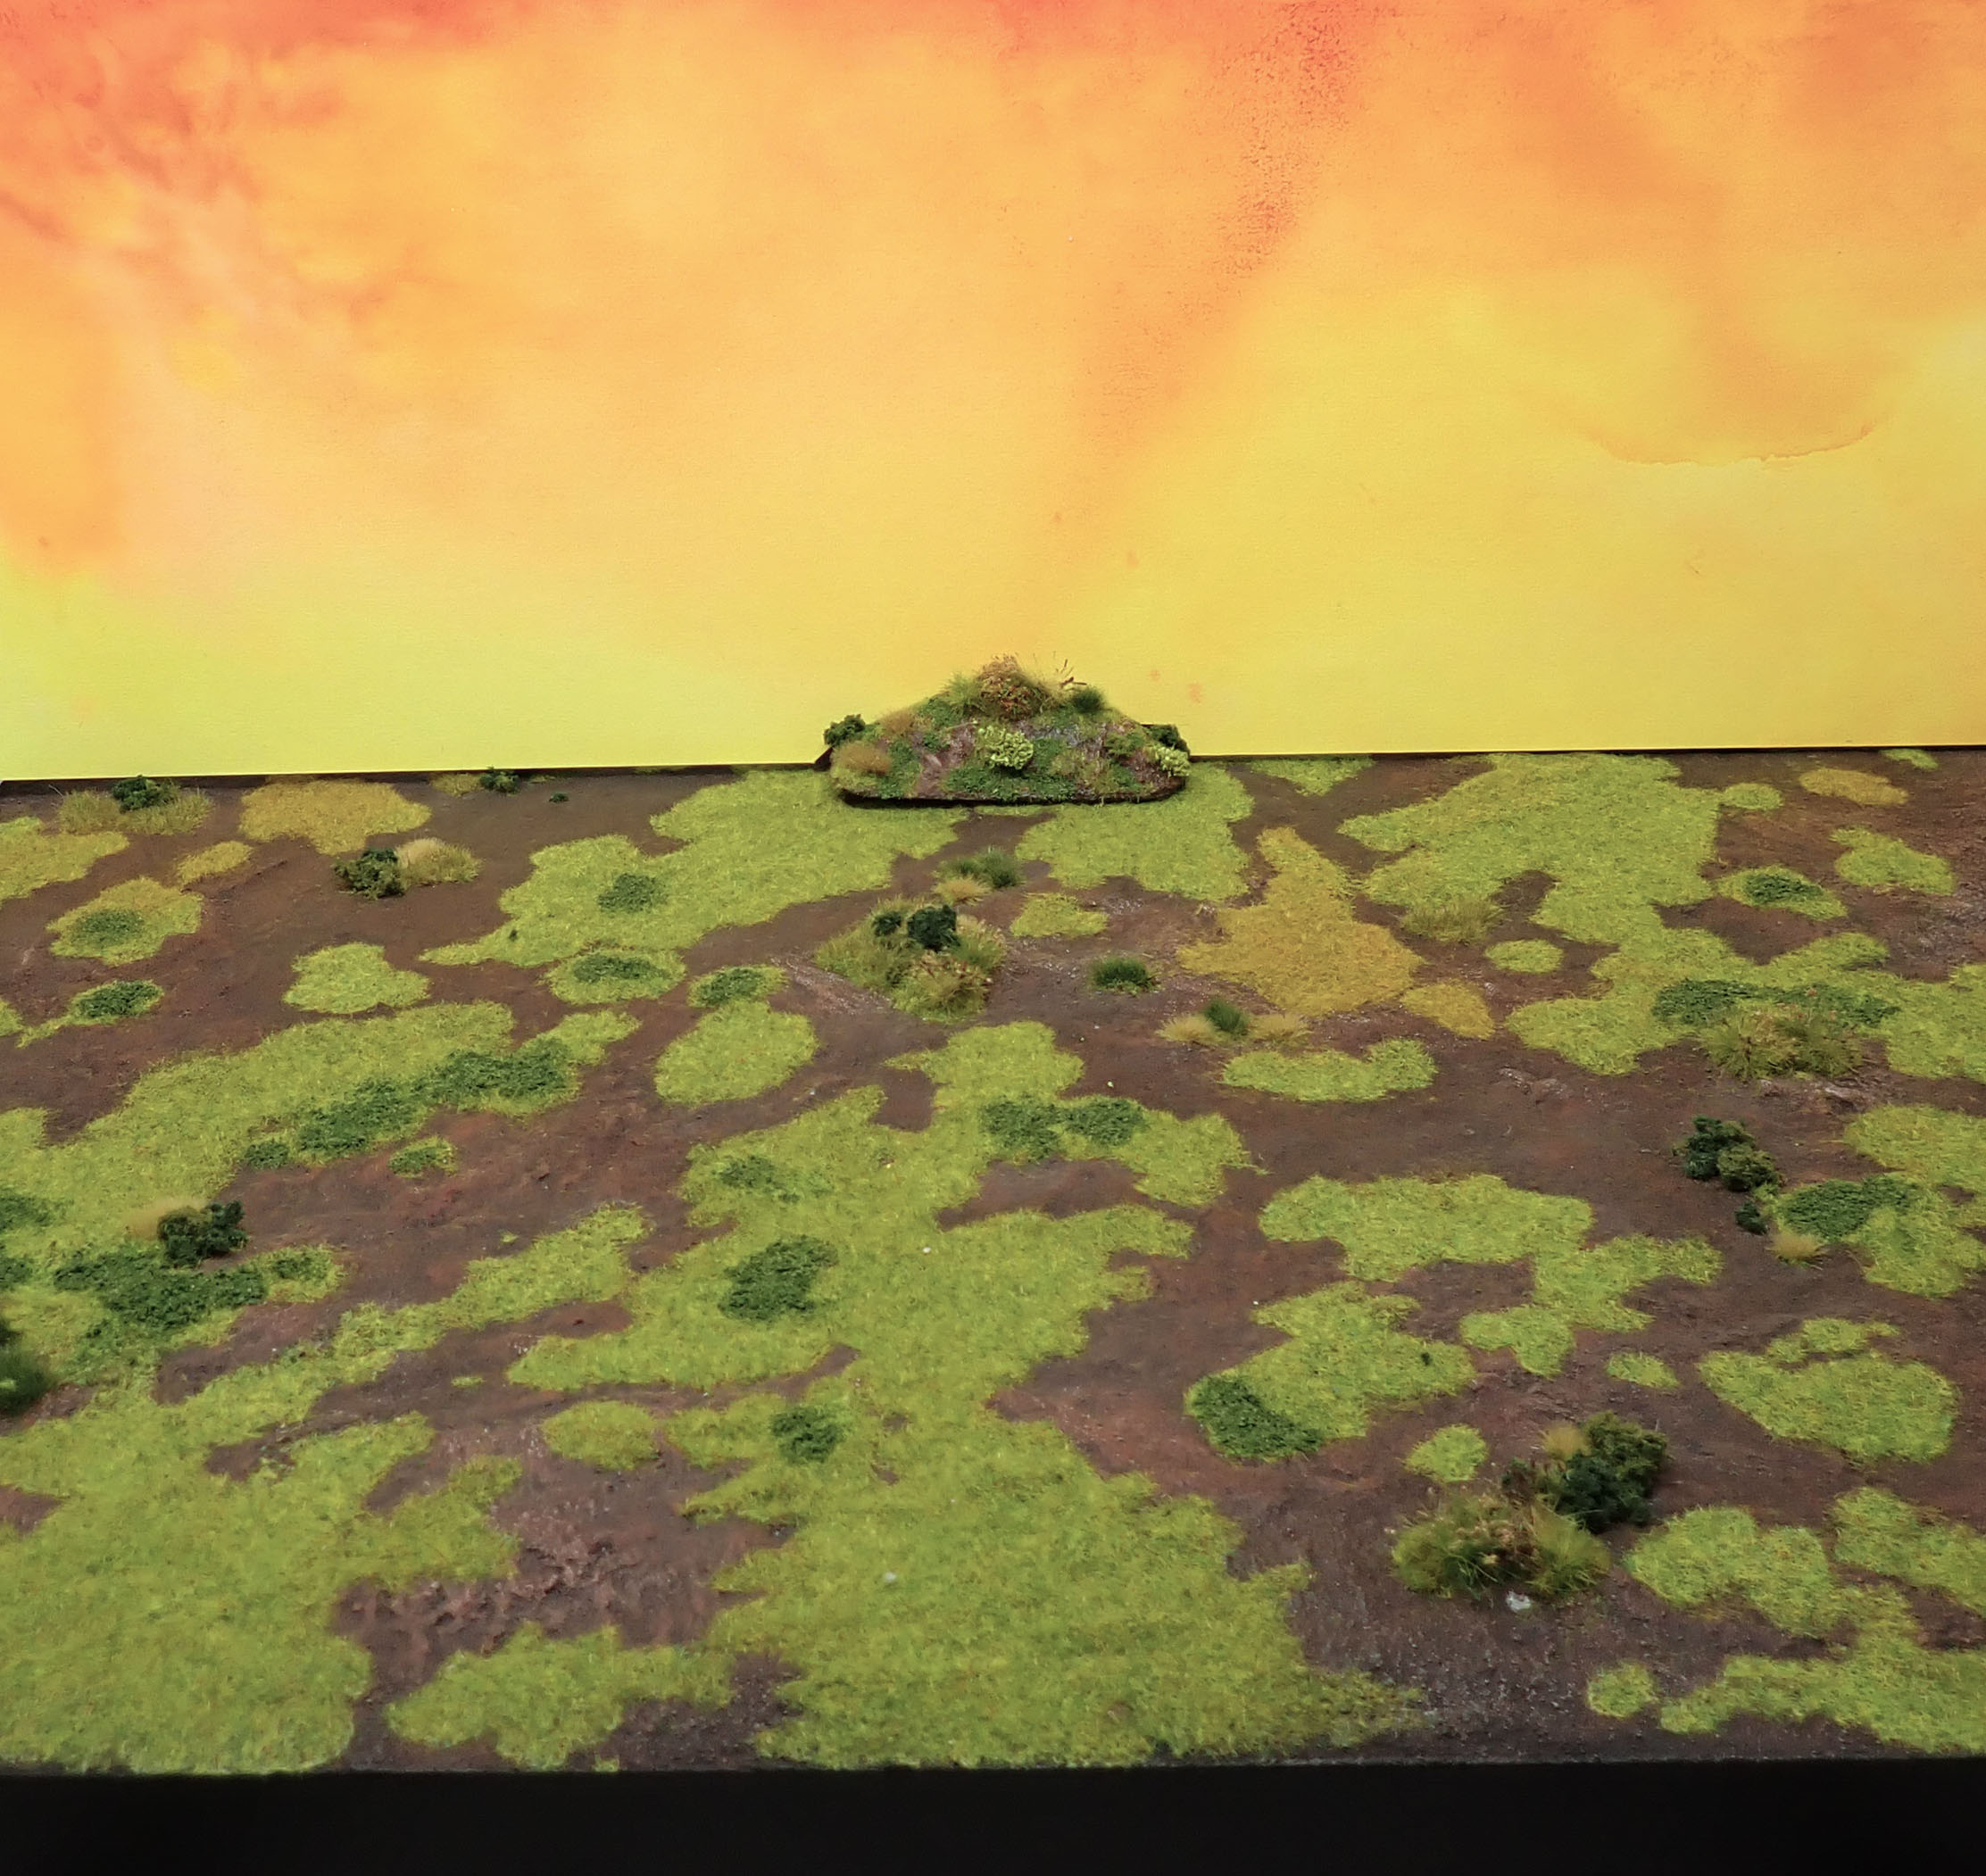
Lastly, here are a few bonus pictures of work in progress. The board itself is based on a 60cm x 60cm MDF board, with timber edges around a slightly smaller square of XPS, then textured with Pollyfilla and sand and painted with a mix of acrylics, some leftover pigments, and Army Painter ‘Strong Tone’. The backdrop is painted on Pink Pig’s Matte ‘Ameleie’ paper. They don’t make this available in large format on their website, but they let me put in an order over the phone – mounted on foamboard. I built a grassy mound with a slot for the backdrop. I should have cut a notch in the base to hide the ‘join’ – next time I will.


Up next: some miniatures, some drawings, and some crafting. We’ll see if I can keep up the momentum and stay creative through the coming months of lockdown.

Pingback: Back from the Dead – Shin High Terror!
Pingback: Enter the Otherworld – Shin High Terror!